Assignment
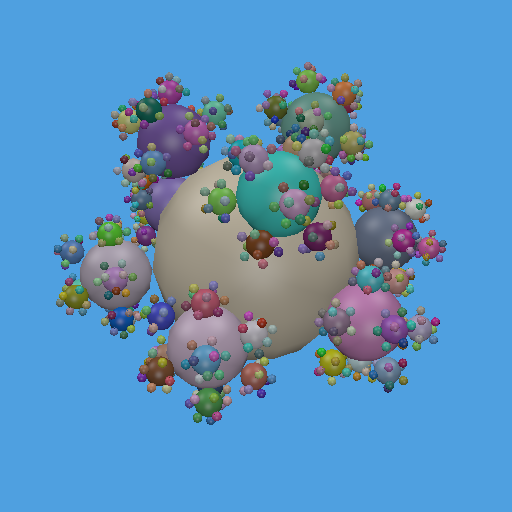 For this assignment, you will be using rasterization to render files in the Polyray (.pi) text file format that we used in programming assignments 1 and 2. Specifically, you will be using barycentric triangle rasterization with back face culling and z-buffering. You can borrow any code from prior assignments, either your own code, assignment starter code, or from the provided assn1 sample solution. For example, we've already had code for .pi file parsing, vector and matrix classes, ppm file output, and sphere tesselation, any of which you may not want to rewrite from scratch for this assignment. Like assn1 and assn2, this assignment should be entirely self-contained with no use of external libraries outside of the C++ standard template libraries.
Use the same local Blinn-Phong with diffuse layered reflectance model from assignment 2, but without shadowing, or the reflection or refraction terms. Lighting computations should be done in world space and should use the interpolated normal and world-space positions of the pixel, lights, and eye.
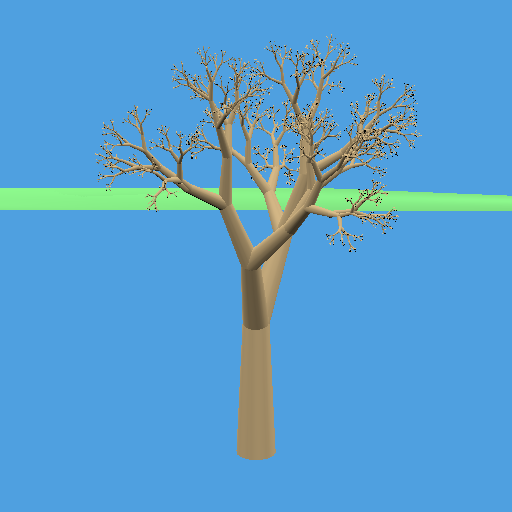
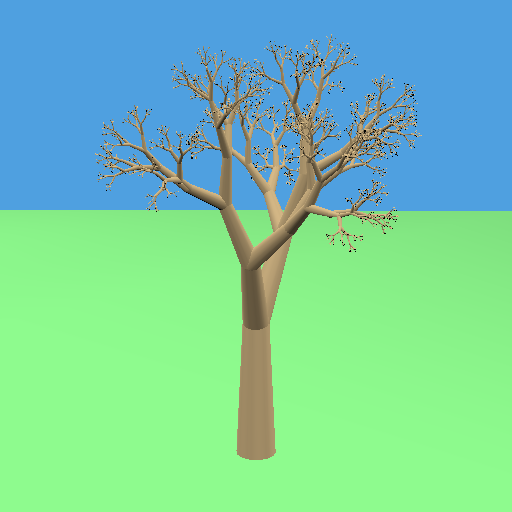
For the base assignment, you do not need to implement clipping. In general, triangles that should be clipped will have one or more of their vertices reflected through a point in the center of the screen. For our sample files, the ground plane is the only thing that would be normally be clipped, and if you don't clip it, it will end up just not appearing in the final image.
Do your work in the raster directory that has been created for you in your git repository. As we did in the ray tracing assignments, you should take a single polyray file as a command-line input, look for that file in the raster/data directory, and create the ppm result file in the raster/build directory.
Transformations
Points in the input files are provided in world space. Construct 4x4 matrices for any needed transforms between world space, NDC space, and raster space. For your projection matrix, you should use the hither value in the input file for the near plane distance, but can choose any suitably large far plane distance.
Leave the lights and normals in world space. To find the world-space surface position, needed to compute the light and view vectors (as normalize(light-position) and normalize(eye-position)), you can either tranform the raster-space point through the inverse of the RasterFromWorld matrix, or do an interpolation of the world-space vertex positions using the barycentric coordinates computed for rasterization.
Objects
Your only directly-rendered primitive is a triangle with interpolated per-vertex normals. Compute the baycentric equation coefficients and screen-space rectangle bounding the transformed vertex locations; then loop over the bounding rectangle pixels, using incremental updates of the barycentric α, β, and γ. You will use α, β, and γ as decision variables to tell which pixels are inside the triangle, and as weights for weighted interpolation of the normals, pixel depth for z-buffering, and possibly world-space position.
Several of the sample files include spheres. Convert these into a collection of triangles. You could use the sphere tesselation code provided in GLapp as a starting point for that. You should use the sphere normals as per-vertex normals.
Convert any convex polygons into a set of triangles. It is not necessary to handle concave polygons (as found in the gears files). Our files do not have per-vertex normals for triangles or polygons, but if you use the same normal for all three vertices, you will be able to use the same normal-interpolating triangle primitive for everything.
634 only
Extra Credit
There are three extra credit options at 5 points each, for a total of 15 points of possible extra credit if you do all three. You are only eligible for extra credit if you submit on the original due date.
Instead of a single shadow map for each light, use a cube of six shadow maps in the world-space +X, -X, +Y, -Y, +Z, and -Z directions around each light. Nominally, each of these should use a 90°, but this can lead to seams between the shadow map faces. To avoid those, you can use a slightly wider field of view (e.g. 91°) to allow some overlap between the area covered by each face. To use the cube shadow map, you will need to use the light vector to determine which cube-map face to use before your shadow lookup for the light.
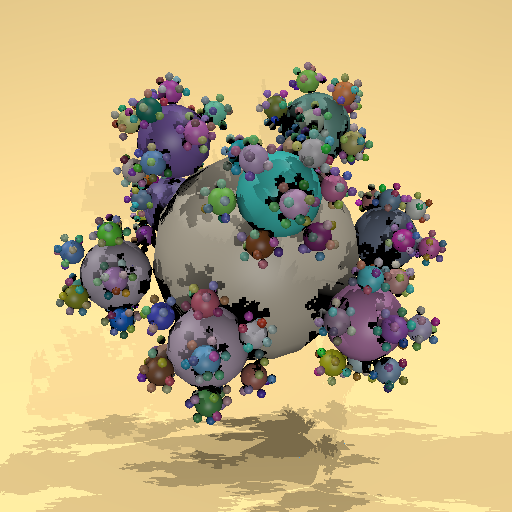
If you do both shadow map extra credit options (and I would recommend #2 before #3), leave code for both in your program with some way to choose which to use. Be sure to tell us how to select between them in your assn6.txt file.
Tips
Like with ray tracing, creating simple one or two primitive input files with a reduced number of pixels can be a huge help in debugging
If you are not clipping to the window edges, be sure to clamp the min and max extents of the bounding box that you will loop over for rasterization to the window edges to avoid overflowing from one line to the next in the image, or off the end of the image array
Plan your development of the rasterization in discrete visibly-checkable steps: first fill in the entire bounding box for each triangle, then the barycentric rasterization without z-buffering, then add z-buffering.
There are many ways to compute the barycentric coordinates, but all include a division by the triangle area. Even the matrix inverse methods either explicity or implicitly divide by the determinant of the matrix when computing the inverse, where that determinant is twice the signed area of the triangle. This can run into problems when the triangle area is zero or small enough to introduce numerical errors. You can and should detect and skip those zero-area triangles.
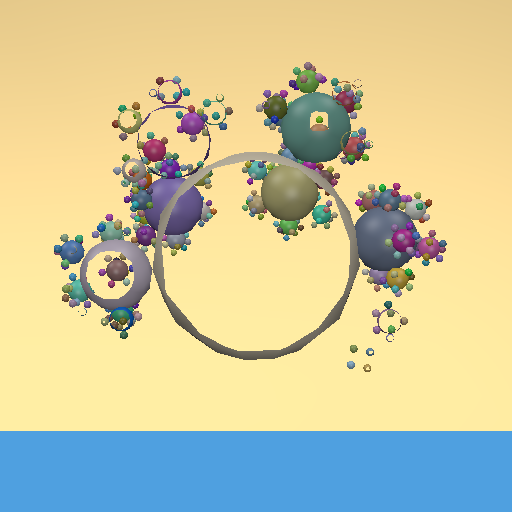
If attempting the shadow extra credit, it can be helpful to return in-shadow for all pixels inside the extent of current shadow map to debug your map direction and clipping are correct.
What to turn in
Turn in this assignment electronically by pushing your source code to your class git repository by 11:59 PM on the day of the deadline and tagging the commit assn6. Do your development in the raster directory so we can find it.
Also include an assn6.txt file at the top level of your repository telling us about your assignment. Tell us what works, and what does not. Also tell us what (if any) help you received from books, web sites, or people other than the instructor and TA. Finally, if you did anything toward the extra credit, be sure to tell us about it in this file.
You must make multiple commits along the way with useful checkin messages. We will be looking at your development process, so a complete and perfectly working assignment submitted in a single checkin one minute before the deadline will NOT get full credit. Individual checkins of complete files one at a time will not count as incremental commits. Do be sure to check in all of your source code, but no build files, log files, generated images, zip files, libraries, or other non-code content.
If you create any additional polyray files that you would like us to be able to render to demonstrate your work, be sure to commit them in the data directory