Assignment Goals
The primary goals of this assignment are:
- Make changes to the core UE4 engine source code.
- Find relevant sample code in a large codebase
- Add a post processing effect that modifies scene color.
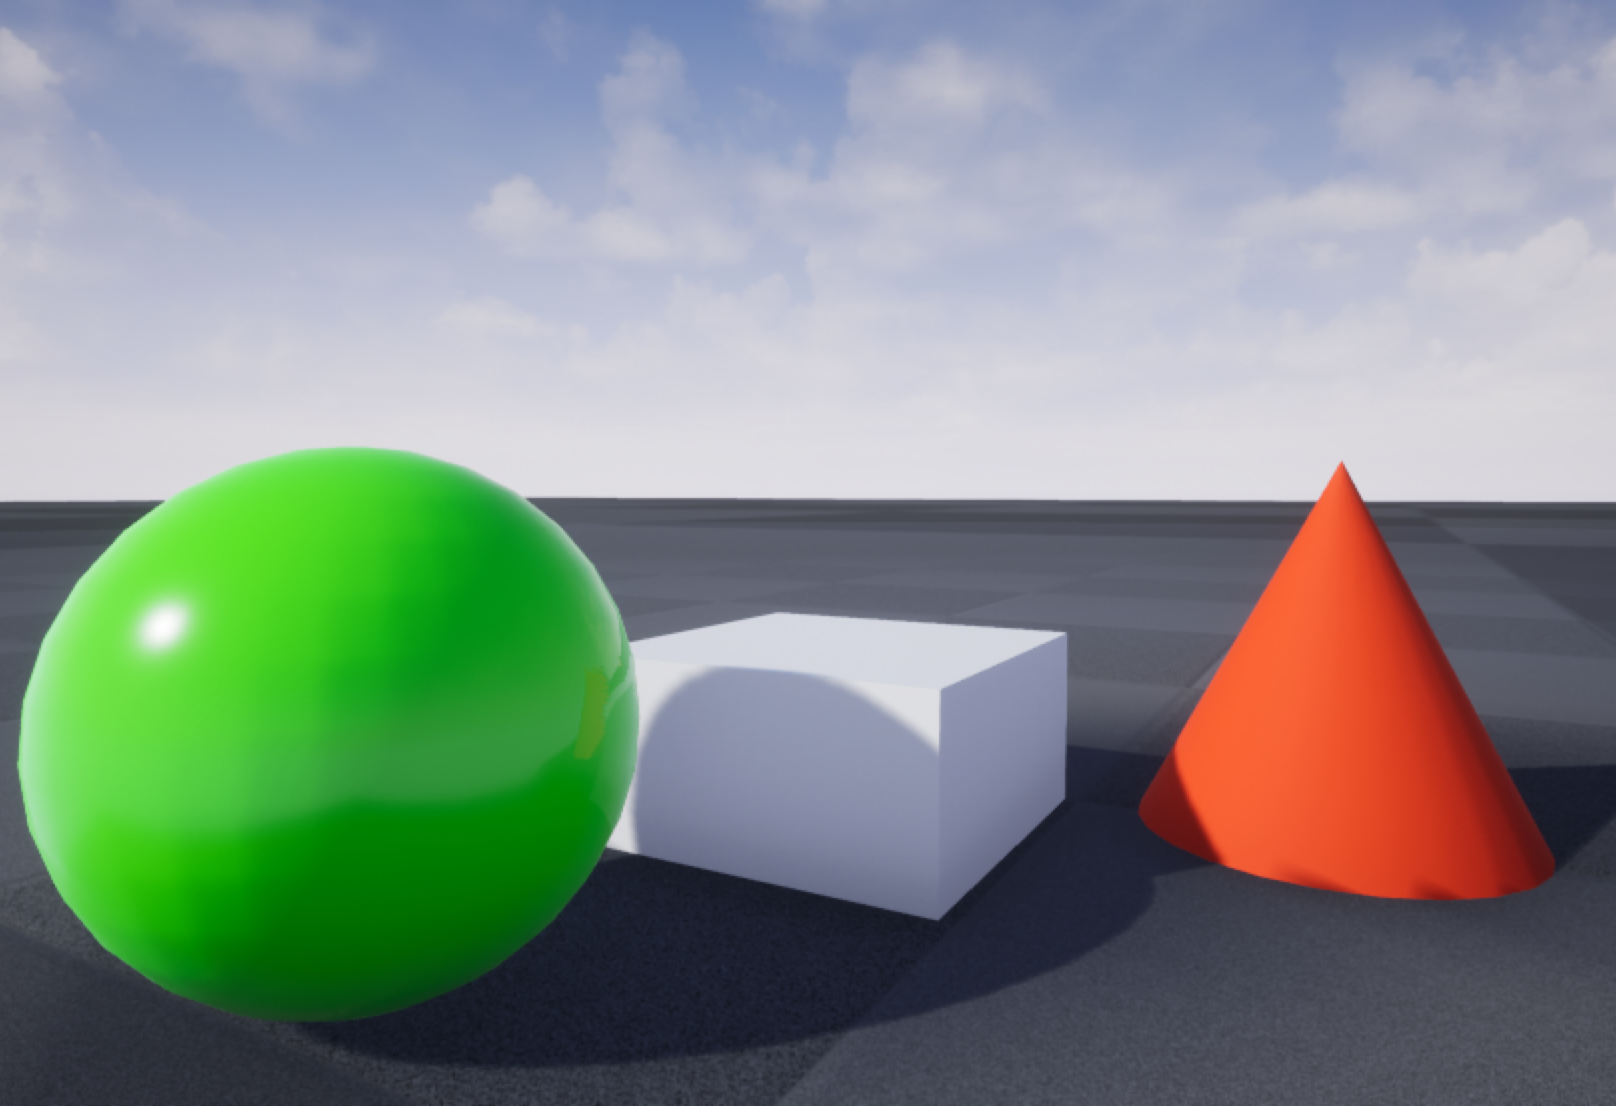
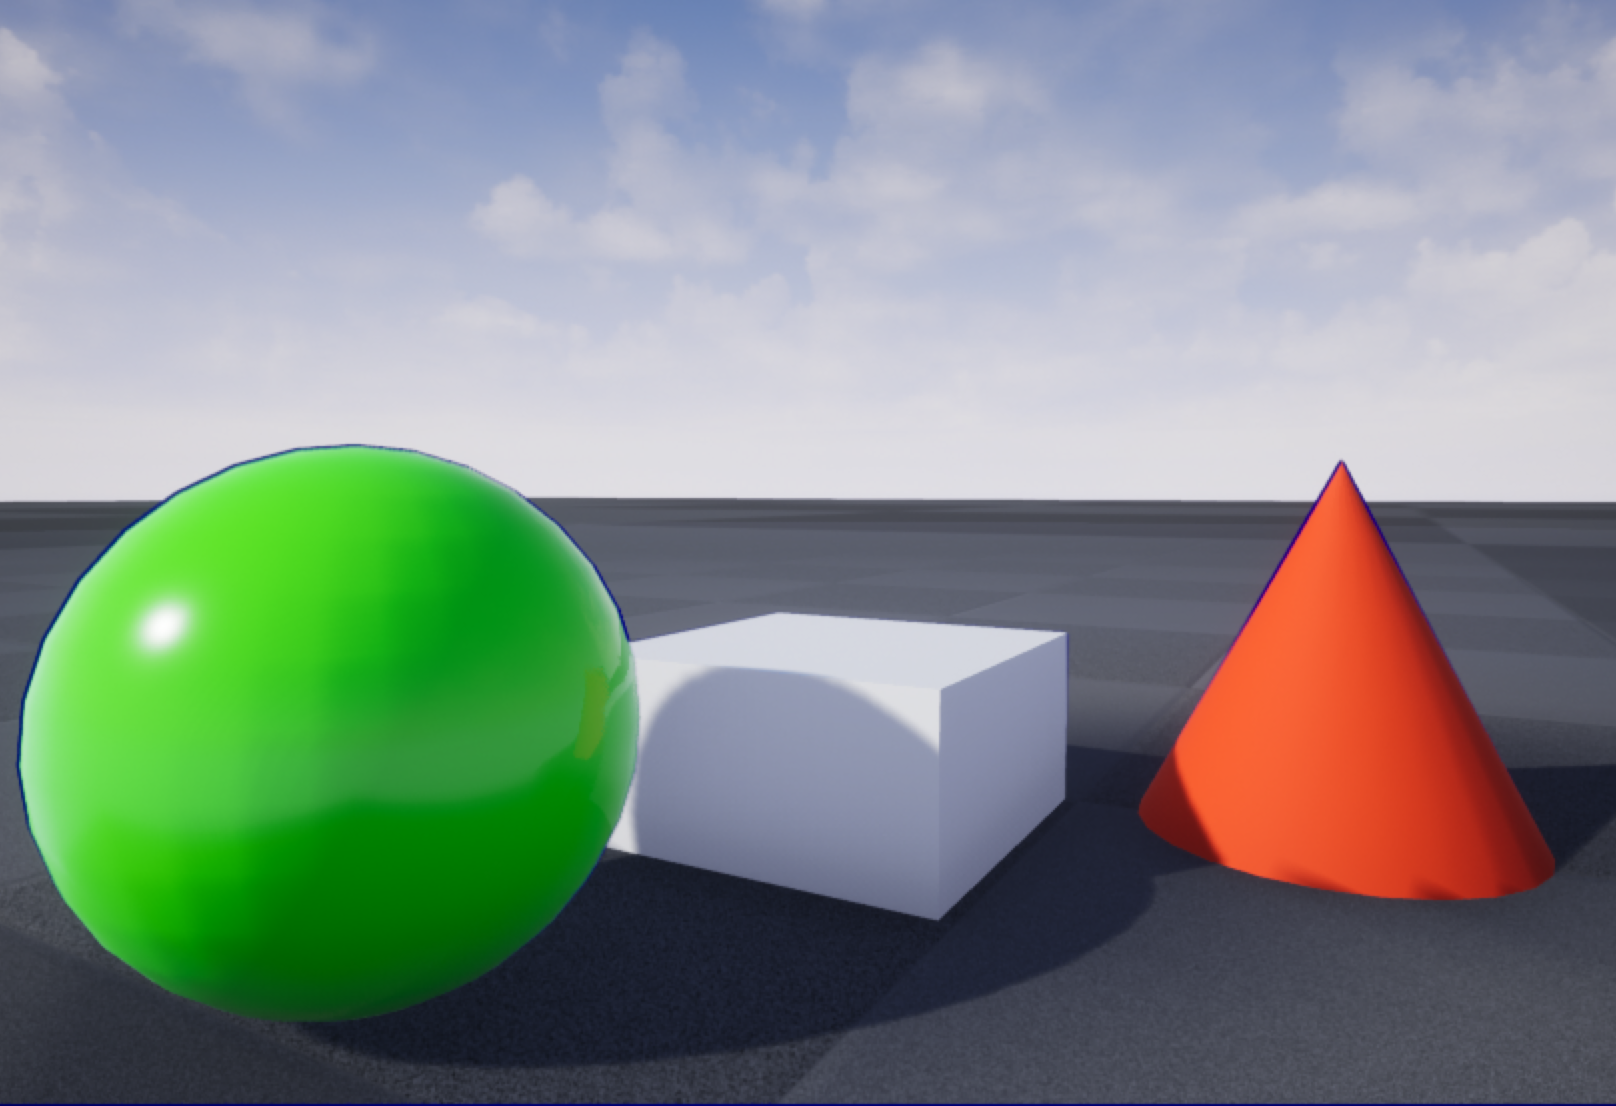
For this assignment, you'll be creating a new post processing pass for the Unreal Engine. This pass will filter a rendered scene to produce a cartoon-like appearance.
 |
→ | 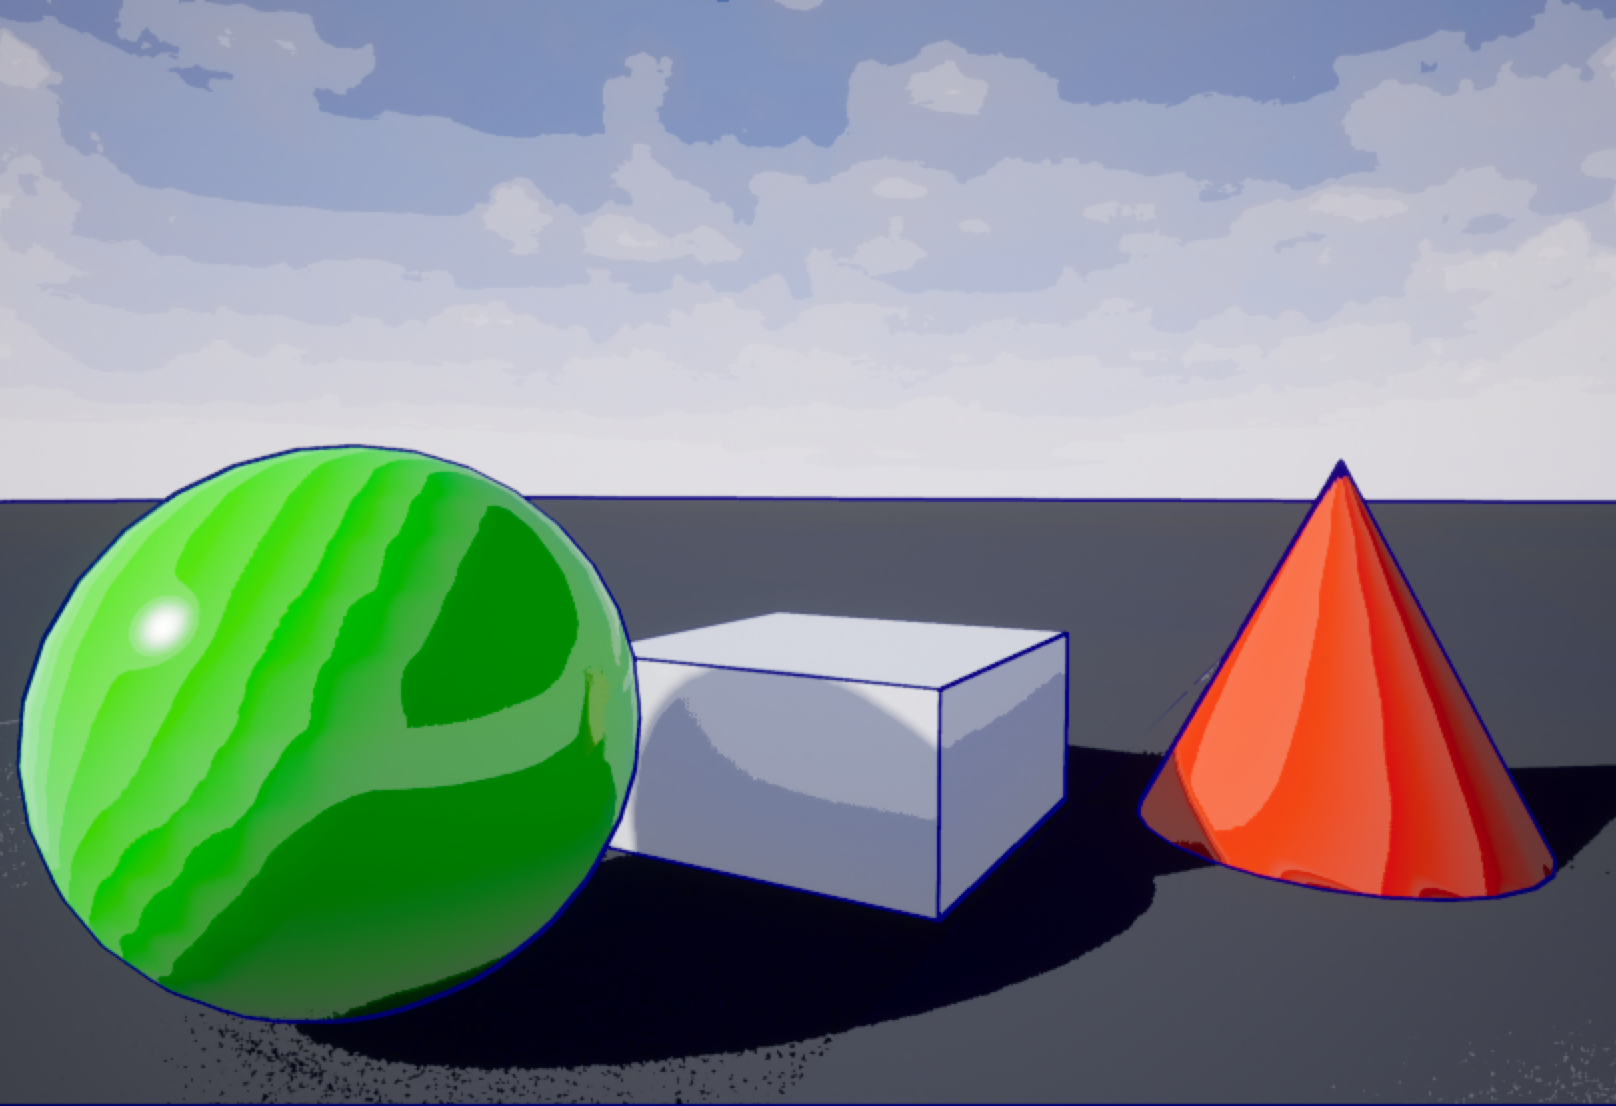 |
| Normally rendered scene | Scene processed to cartoon look | |
| (These and all images in this project description are linked to full-sized versions) | ||
Though I've given some background below on the functioning of this part of UE4, there are several ways to achieve the desired result, and none of available sample code does exactly what you need. You will need to look through the other post processing passes, and come to enough of an understanding of what they do to create your own pass.
UE4 Postprocessing Overview
Postprocessing passes take one or more input images (the scene color from passes that have been run already, per-pixel depths, G-buffers, or others). They run a shader on each pixel to produce a new image or images for later passes to consume. The r.CompositionGraphDebug console command lists all currently active passes, including their inputs and outputs. The vis console command can show you any intermediate result (e.g. vis SceneColor). When more than one pass modifies the same texture, you can specify which version to show by number (e.g. vis SceneColor@1). Normally, vis shows the requested texture in an inset at the bottom left of the window. With the additional uv1 argument, vis shows it stretched to full screen, and with the uv2 argument, vis shows it at its natural size (especially useful for passes that produce lower-resolution output).
The order of postprocessing passes, and which ones to execute, are determined in FPostProcessing::Process(). Before each pass, Context.FinalOutput contains the primary result of the preceeding pass. The new pass is registered with Context.Graph.RegisterPass(), the inputs are hooked up with TRenderingCompositePassBase::SetInput(). After the pass, Context.FinalOutput is updated to the new pass results. To insert a new optional pass, you create a console variable with TAutoConsoleVariable to give you a flag you can turn on and off from the console, then put the code to register the pass at the appropriate place in FPostProcessing::Process(). Where you put it determines which postprocessing steps will have already run, and which ones will run later.
Every postprocessing pass includes one or more classes to set up shaders. You should not need to make your own vertex shader, but will need to set up your own pixel or compute shader. For pixel shader passes, the built-in FPostProcessVS vertex shader will work, and compute shader passes do not use a vertex shader. Every shader setup class includes several key functions. ShouldCompilePermutation tells whether a shader is supported (e.g. if it won't work on mobile). ModifyCompilationEnvironment sets any shader #defines to control how the shader will be compiled. For passes that use this, the shader setup class is usually templated to set up different versions with different choices for #define symbols. Every variant is an extra shader permutation to compile when shader code changes. The constructor hooks up the shader parameters to their name in the shader code, and there's a separate SetParameters function to set the values for those shader parameters. Finally, there's a Serialize function to (no suprise) serialize the shader state. This shader class will be passed into a IMPLEMENT_SHADER_TYPE macro with the name of the shader code file and function within that file to use.
The rest of the code for main pass class includes a Process function to run the pass, and a ComputeOutputDesc function that reports the name, size, and format of the pass output. You will find examples of Process code using DrawPostProcessPass, DrawRectangle (both for pixel shader passes), or DispatchComputeShader (for a compute shader pass). Any of these is fine.
When testing shader changes, be sure to turn on r.ShaderDevelopmentMode in Engine/Config/ConsoleVariables.ini (there's a line already in there, just uncomment it). This will pop up a dialog box when there's an error in your shader code, rather than crashing the engine. You can recompile shaders with the recompileshaders changed console command (Windows shortcut: control-shift-., Mac shortcut: command-shift-.)
Cartoon Overview
There are two parts to your cartoon look. The first is the quantized shading. For this, you will look up the scene color at each pixel and quantize (round) its luminance to a given precision. Steps of 0.1 seemed to work well for my test scene.
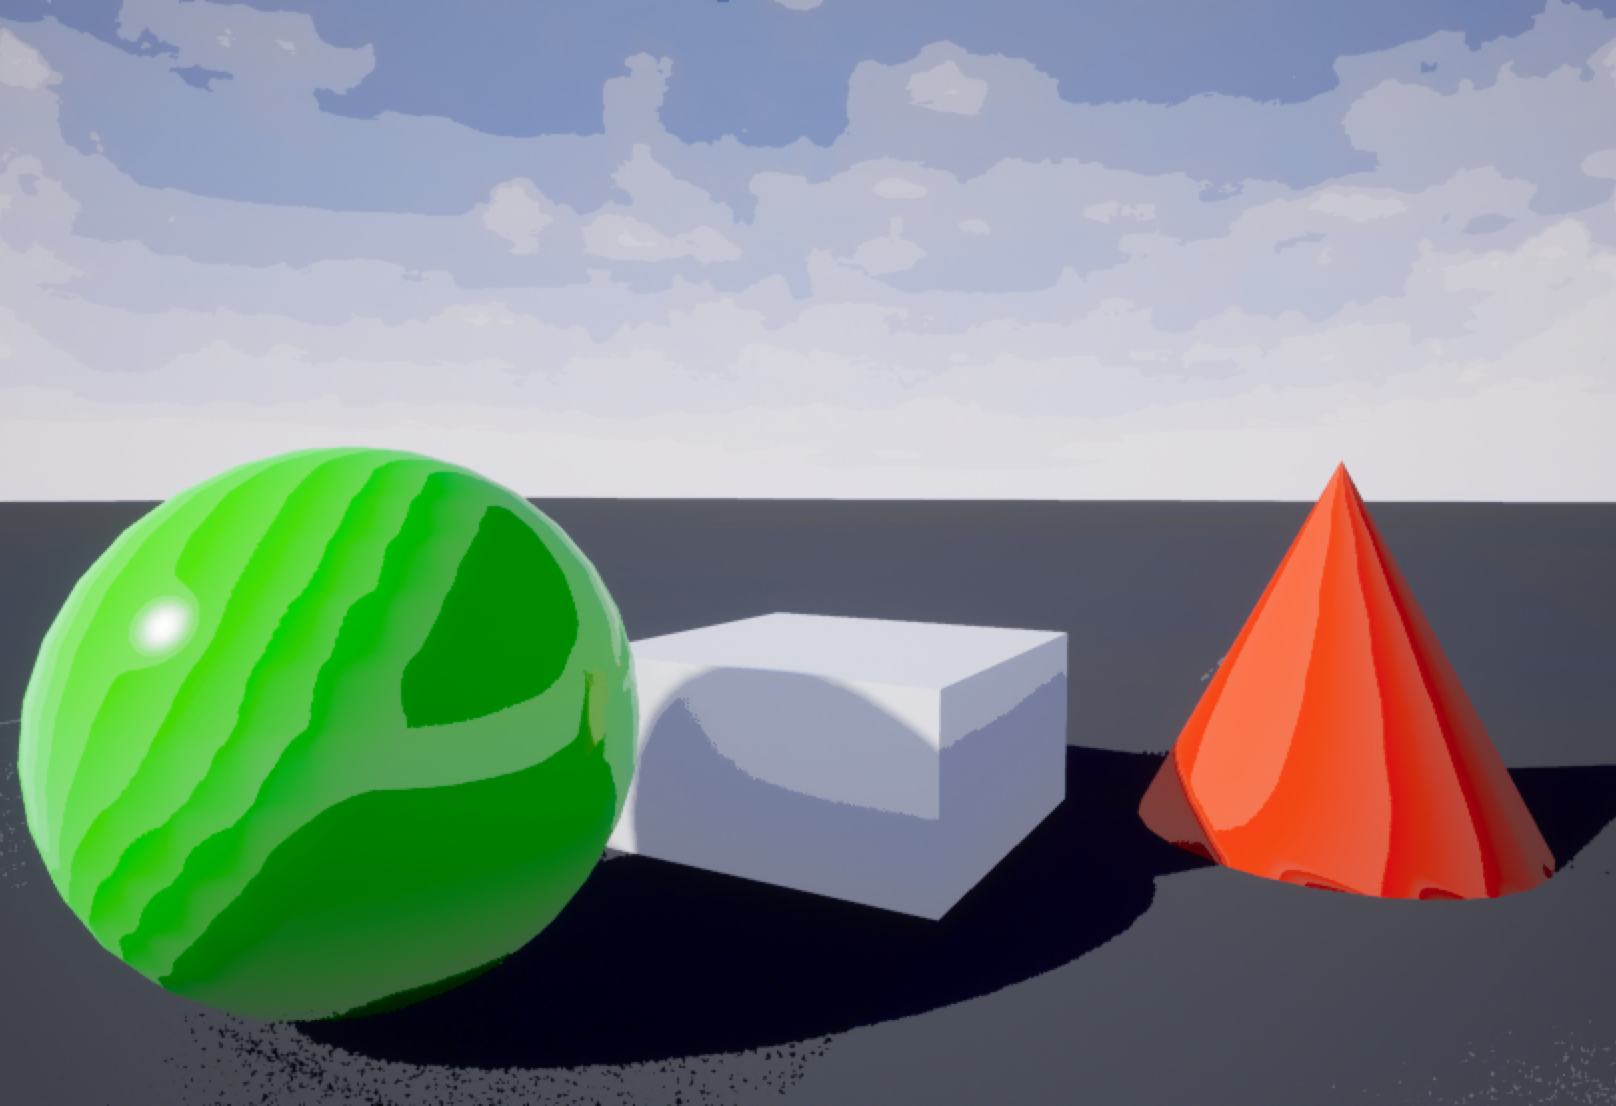 |
| Just the quantized shading effect |
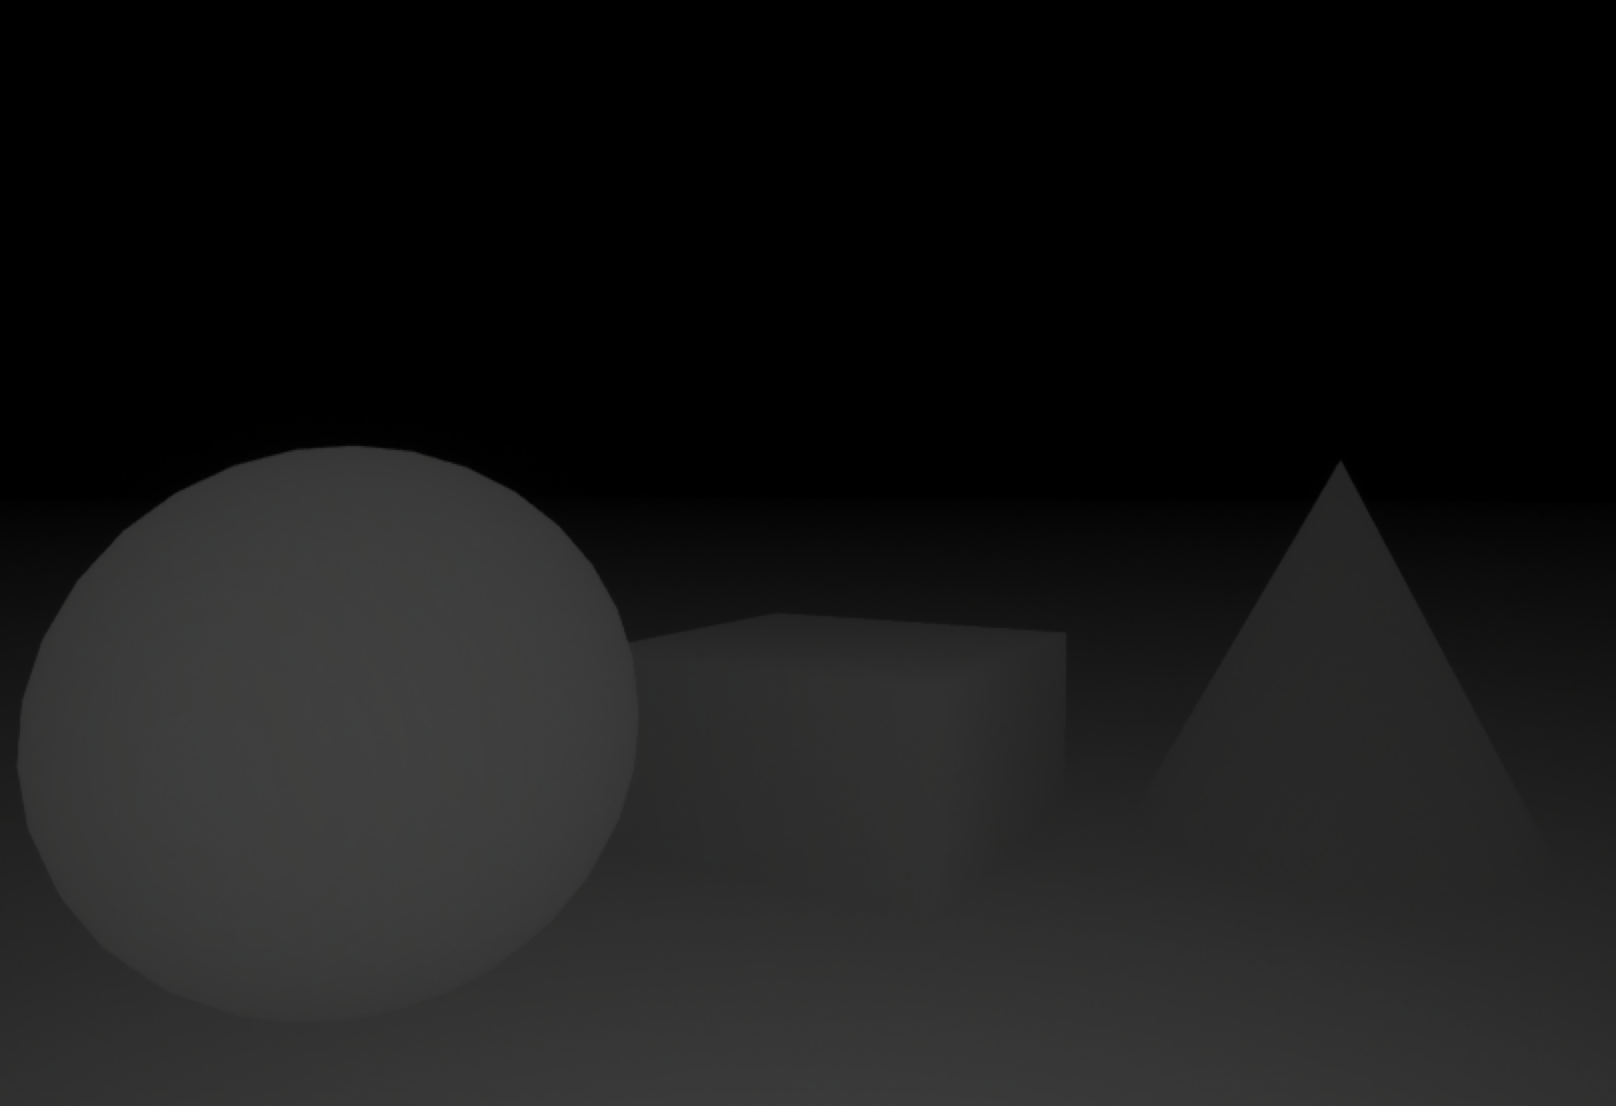
The second part of the cartoon look is the outline. For this, you will run a Sobel edge detector on the scene depth. This does weighted sums over a 3x3 neighborhood of pixels to find discontinuities. Wherever there is edge in the depth image, you'll use the outline color, otherwise, you'll use the processed scene color.
 |
 |
| Scene depths | Just the depth outlines |
Grad Overview
Grad students should also use a Sobel edge detector on the G-buffer normal. Depth edges alone can't find lines where two objects meet, since they're at the same depth there, or at sharp features in a 3D shape. Normals will tend to have discontinuities there, so can catch those extra lines. Normals alone also don't catch everything, since two parallel surfaces (as with a cube sitting on a plane) will have the same normal, so will not have an edge in the normals G-buffer, but will have a discontinuity in depth. To catch more edges, you want to draw a line if there is an edge in either buffer.
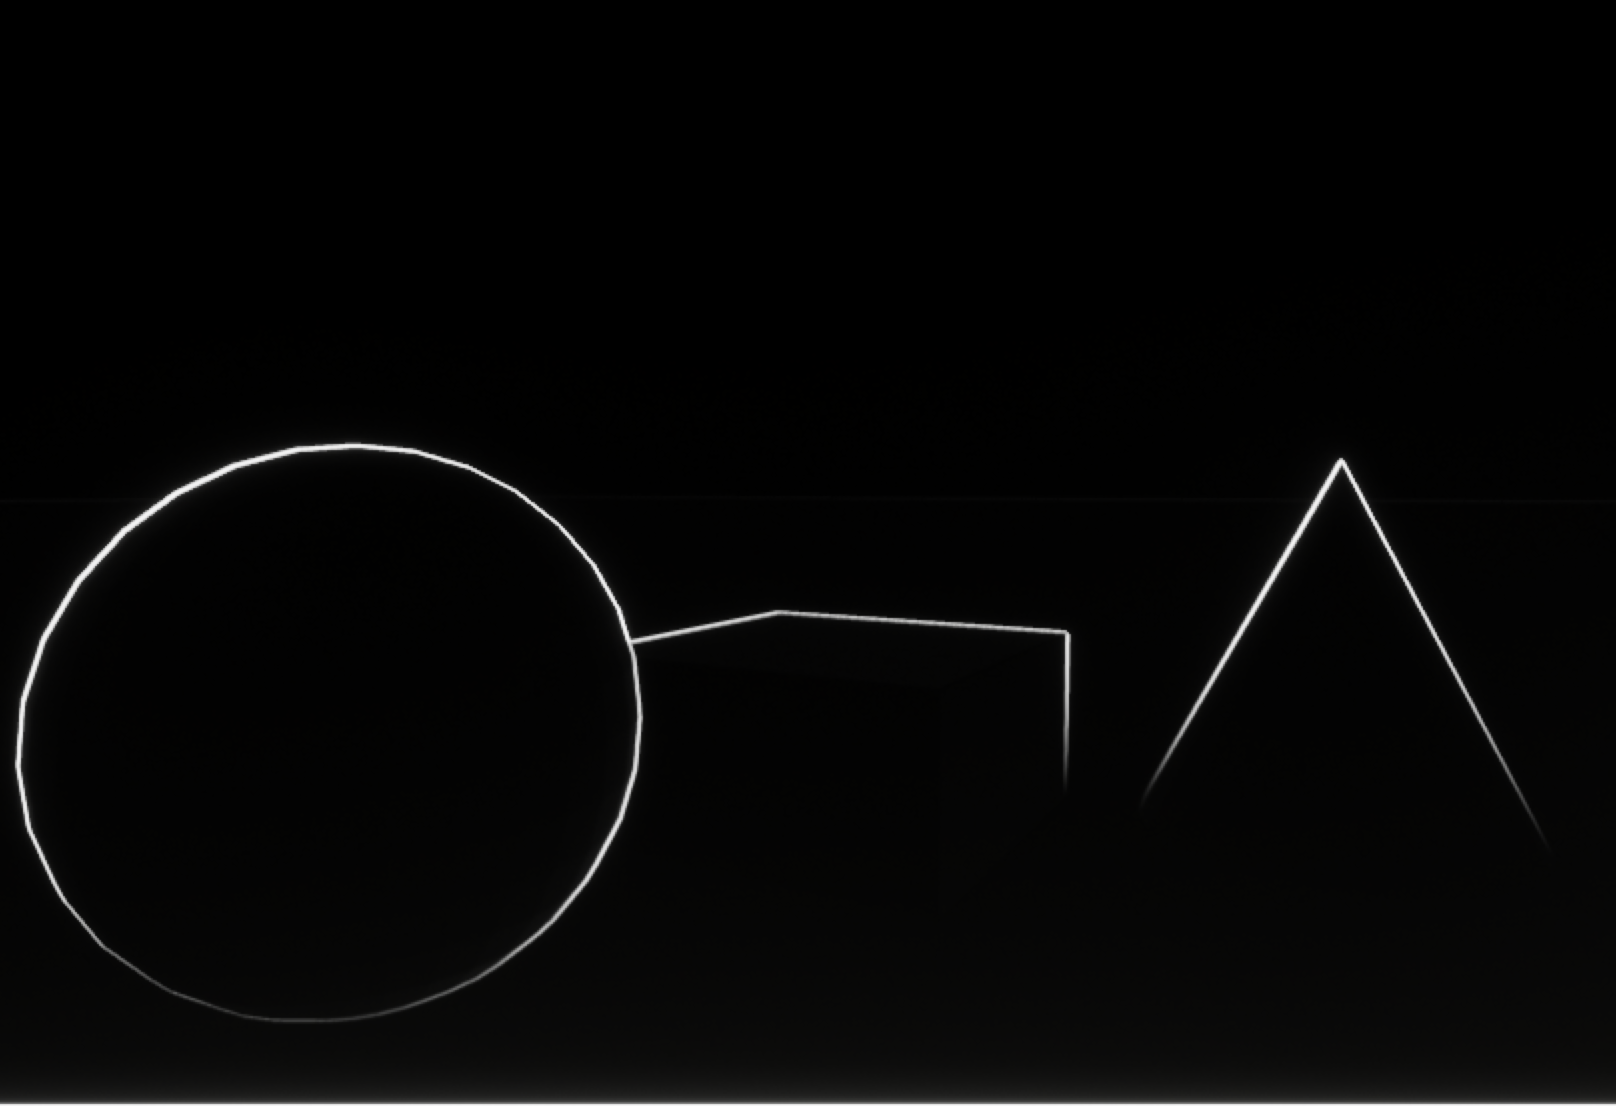 |
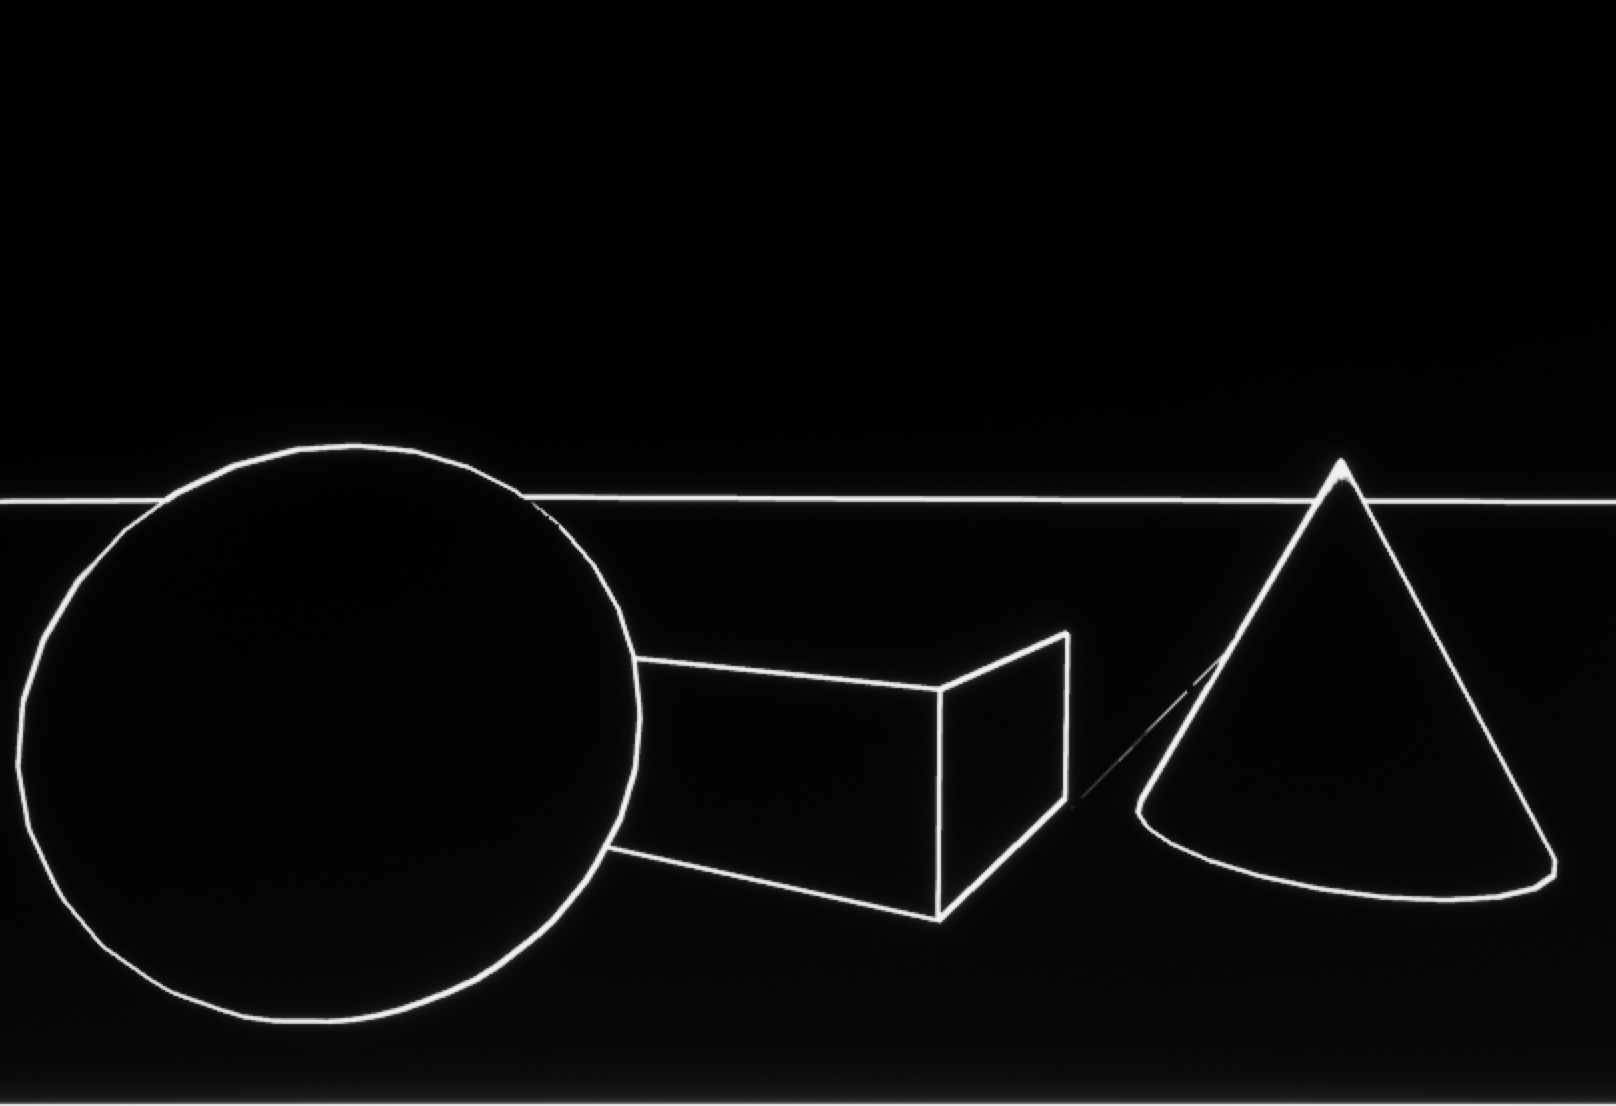 |
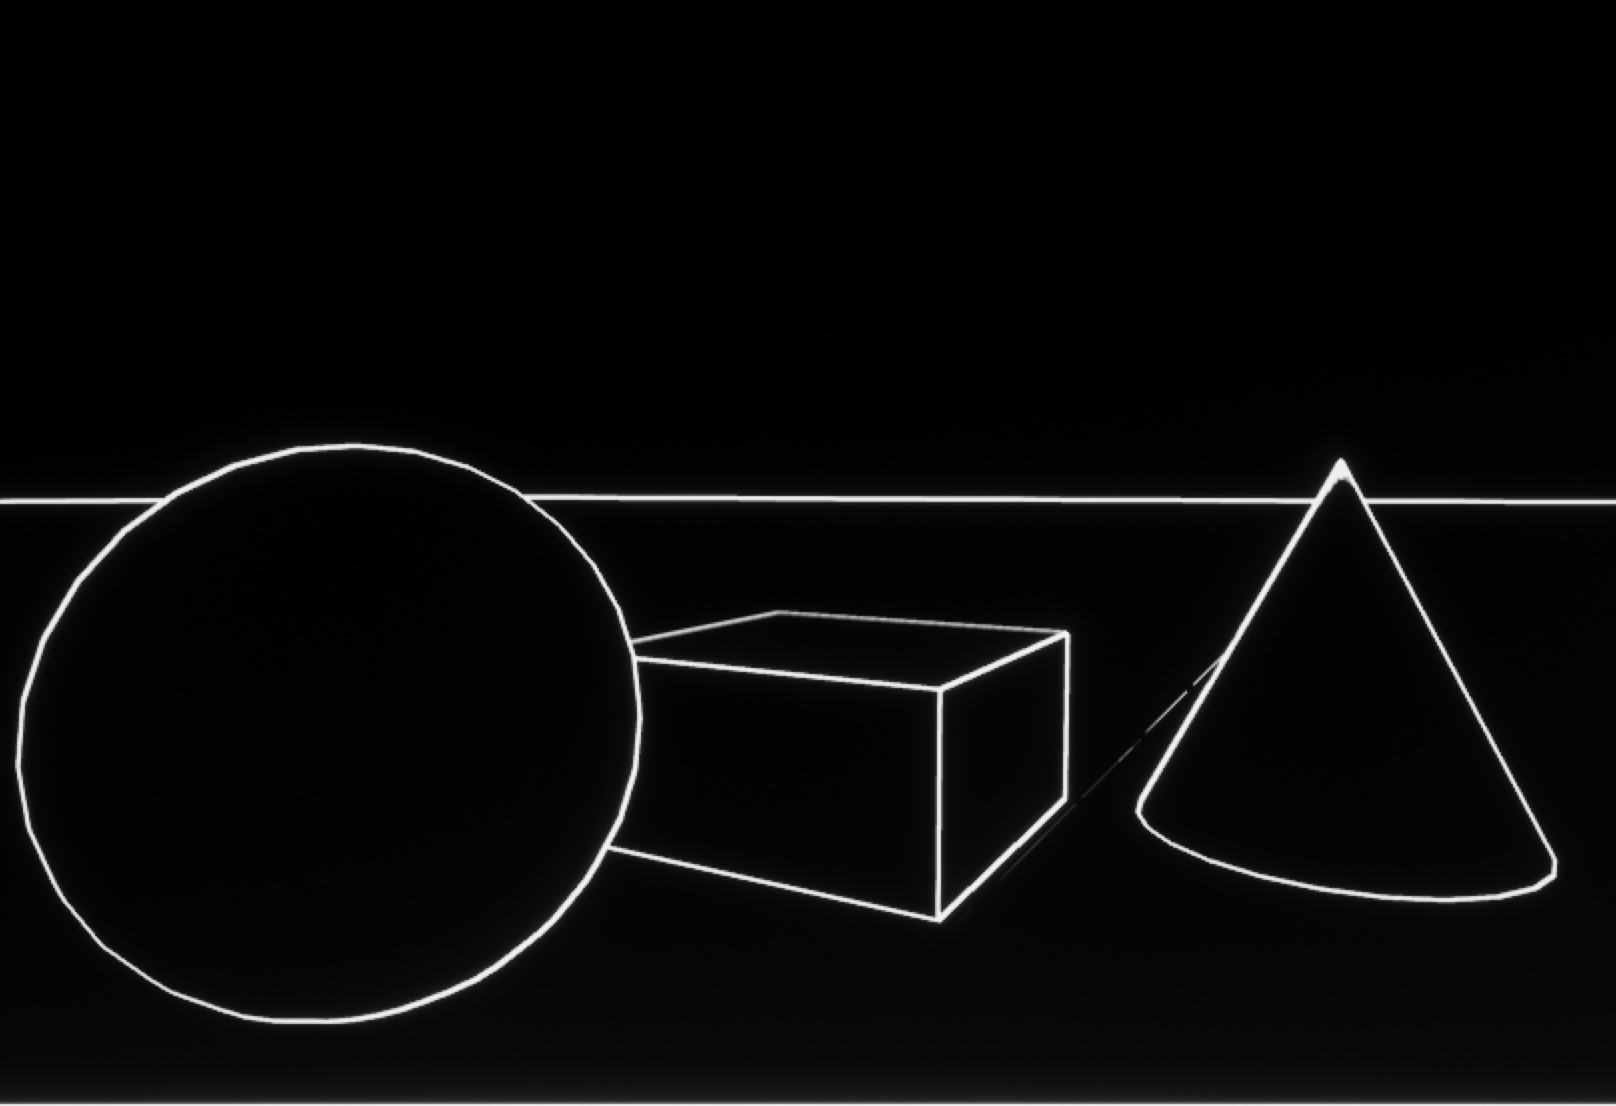 |
| Just the lines from depth | Just the lines from normals | All of the lines |
Details
Create a project
- Create a Basic Code C++ project (with no starter content) called
assn4, and a level called "assn4".- As usual, put it at the top level of your git repository
- Actually, this could be a blueprint project, but creating it as a C++ project allows launching within Visual Studio or Xcode (which you will want to do for debugging) using the same methods we used for assignments 2 and 3
- Add some shapes to it. For grad students, this should include at least one cube.
Clone a pass
- Find a simple existing postprocessing pass to use as a model
- Make copies of the
.h,.cpp, and.usffiles and rename any functions and variables to avoid name conflicts- Don't hook it into
PostProcessing::Process()yet
- Don't hook it into
- Re-run GenerateProjectFiles, then re-launch your IDE and launch your project
- This will rebuild UE4, but should only need to build the new postprocessing files
- If it doesn't build, you probably missed something when renaming (typo or multiply defined symbol). Fix any of these. You should be able to build and run the engine at this stage
- Hook into
PostProcessing.cpp- Make a CVar to turn your pass on and off
- Add the code to register the pass
- If you change the shader to return a solid color (e.g. float4(0,1,0,1)), it'll be easy to tell if it is running when you set your CVar.
- (Temporarily) turning off optimization in your pass and in
PostProcessing.cppcan also be useful to debug whether your pass is being switched on when you want
- Adapt the cpp and header code
- Adjust the pass inputs to what you need (two inputs for color and depth).
- Adjust the shader parameters to what you need (if any).
- Remove any unneeded shader variants or compilation environment / define flags.
- Get rid of any other obviously unnecessary code for your pass.
- Compile / run / commit a bunch along the way here. At each stage, it should still run.
From this point on, most of your changes will be to the shader code. You should be able to develop by recompiling shaders in the engine without having to rebuild or restart the engine.
Make the quantized color effect
- Pass scene color through
- This will make sure the scene color is hooked up correctly and your buffer lookup is correct.
- In a pixel shader, you can access pass input textures as
PostprocessInputNusing eitherTexture2DSample(Texture, Sampler, UV), which takes input texture coordinates in the range 0-1, or usingTexture.Load(Pixel), which takes an integer pixel coordinate from 0 to the width and height of the image. In a compute shader, the input texture is accessed as an array. There are examples using all of those forms, and any of them will work. PostprocessInputNSize.xyhas the width and height of the image, which you'd need to compute the array index if using a compute shader.PostProcessInputNSize.zwhas 1/width and 1/height, which is the step size to the next pixel if usingTexture2DSample(not needed here, but will be for the outline part)
- Convert to luminance form and back
DeferredShadingCommon.ushhasRGBToYCoCg()andYCoCgToRGB()functions that'll do the trick. The x component of the output of RGBToYCoCg (and input to YCoCgToRGB) is the luminance.- Test by performing some simple transformation like setting the luminance to 0.5
- Quantize luninance
- Round luminance to the nearest multiple of 0.1 (or make this a shader parameter controlled by a CVar)
Make the outlines
- Output scene depth as color
- This makes sure the depth buffer is hooked up correctly and your buffer lookup is correct
- Implement the Sobel edge detector
- Display as color first to debug
- Use the step function or multiply and saturate to adjust the sensitivity and make sure the results are in the range 0-1.
- lerp between the base color and outline color based on the detected edge
Grad only: make depth outlines
- GBuffers are not hooked up to postprocessing passes in C++ code the same way as other buffers. Find an example and adjust the pass code
- GBuffers are not accessed in the shader as
PostProcessInputNthe way other typical postprocessing are. Helper functions only look up the current pixel, not adjacent pixels. Find shader code that directly accesses the GBuffer textures and adjust the pass shader code - Add Sobel edge detection for normals. You'll need a different threshold than you did for depths to get good looking outlines
Submission
For full credit, you must commit multiple times during your development.
Add an assn4.txt. Explain why you put your postprocessing pass where you did in the sequence of passes. Tell us what works and what doesn't, and anything else you think we should know for grading. Include a link to video demonstrating your project.
Push to your repository, and tag your final commit with an assn4 tag.