Before you start
This assignment builds on the solutions for either assignment 3 or 4. If yours worked, I strongly recommend using your own code as a starting point for this assignment. If you were not able to get yours working, you can use the "island" solution for assignment 3 in GitHub repository. Whichever you choose, be sure to do all of your work for this assignment in the "GLapp" directory of your repository.
The Assignment
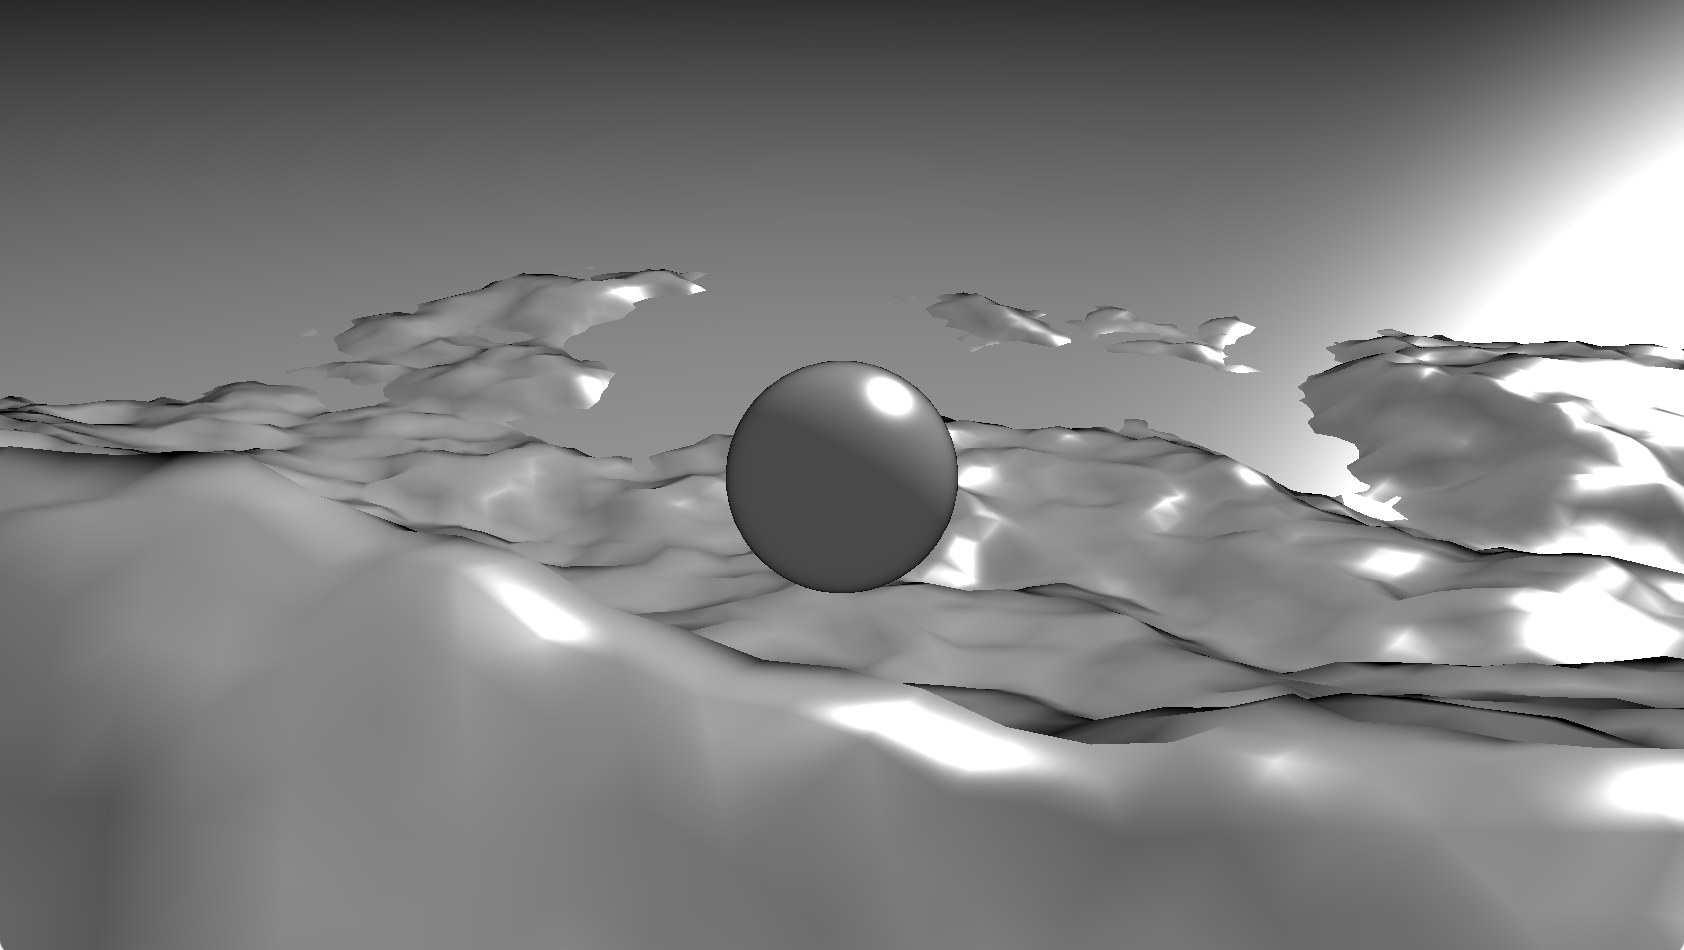
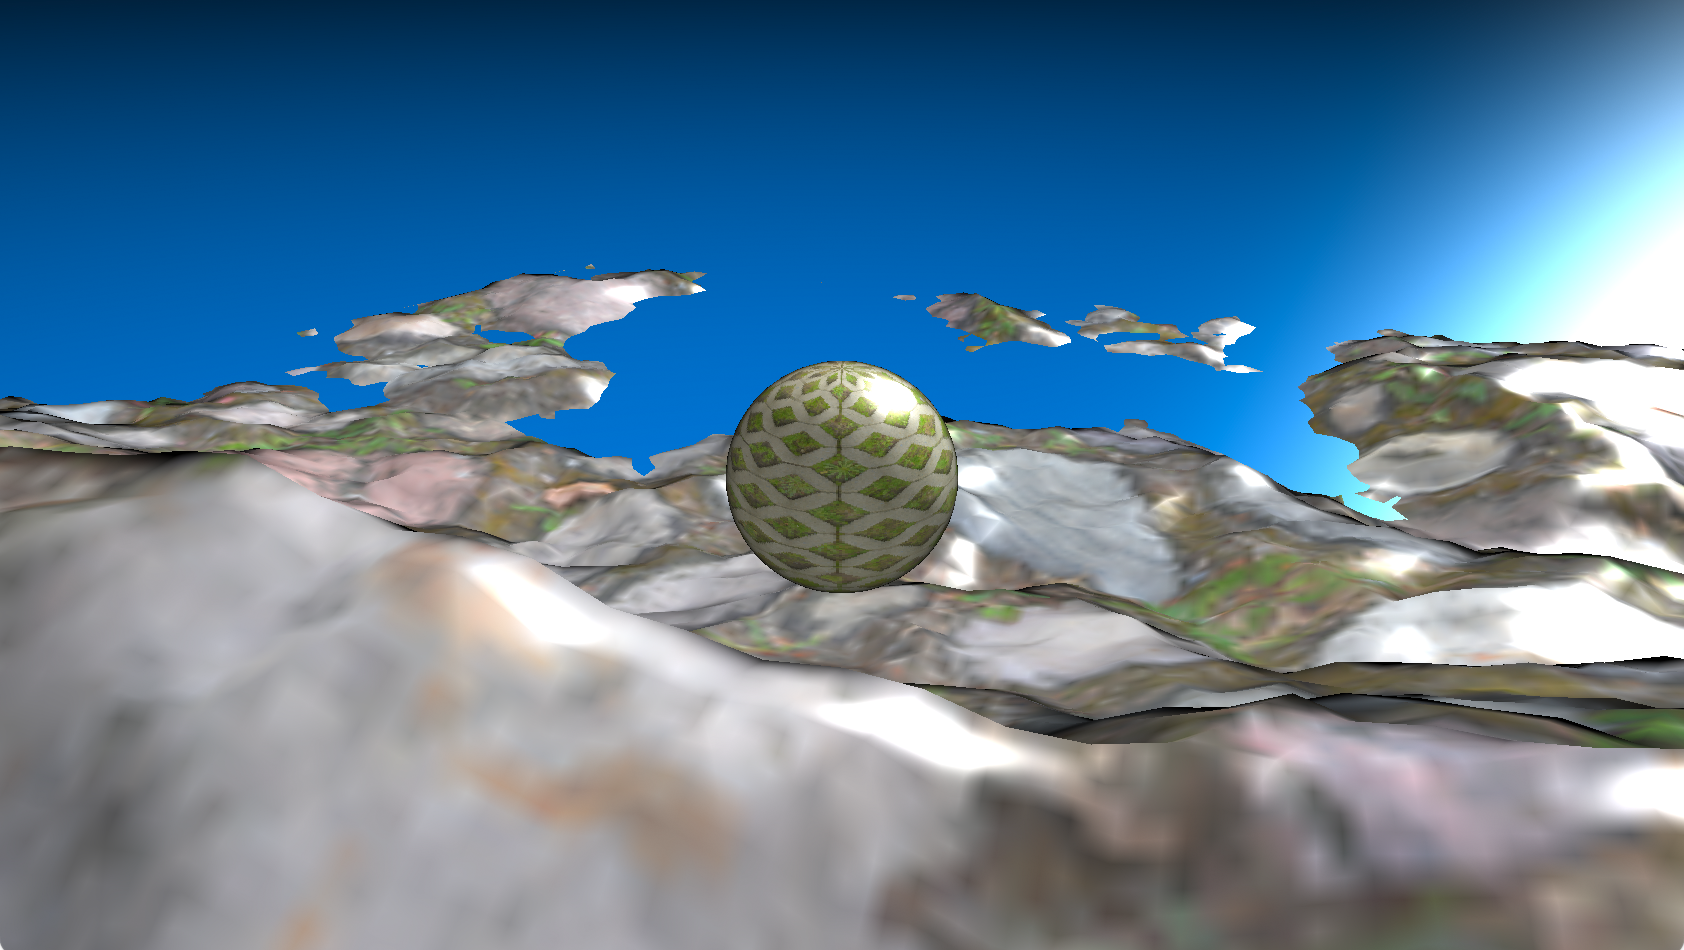
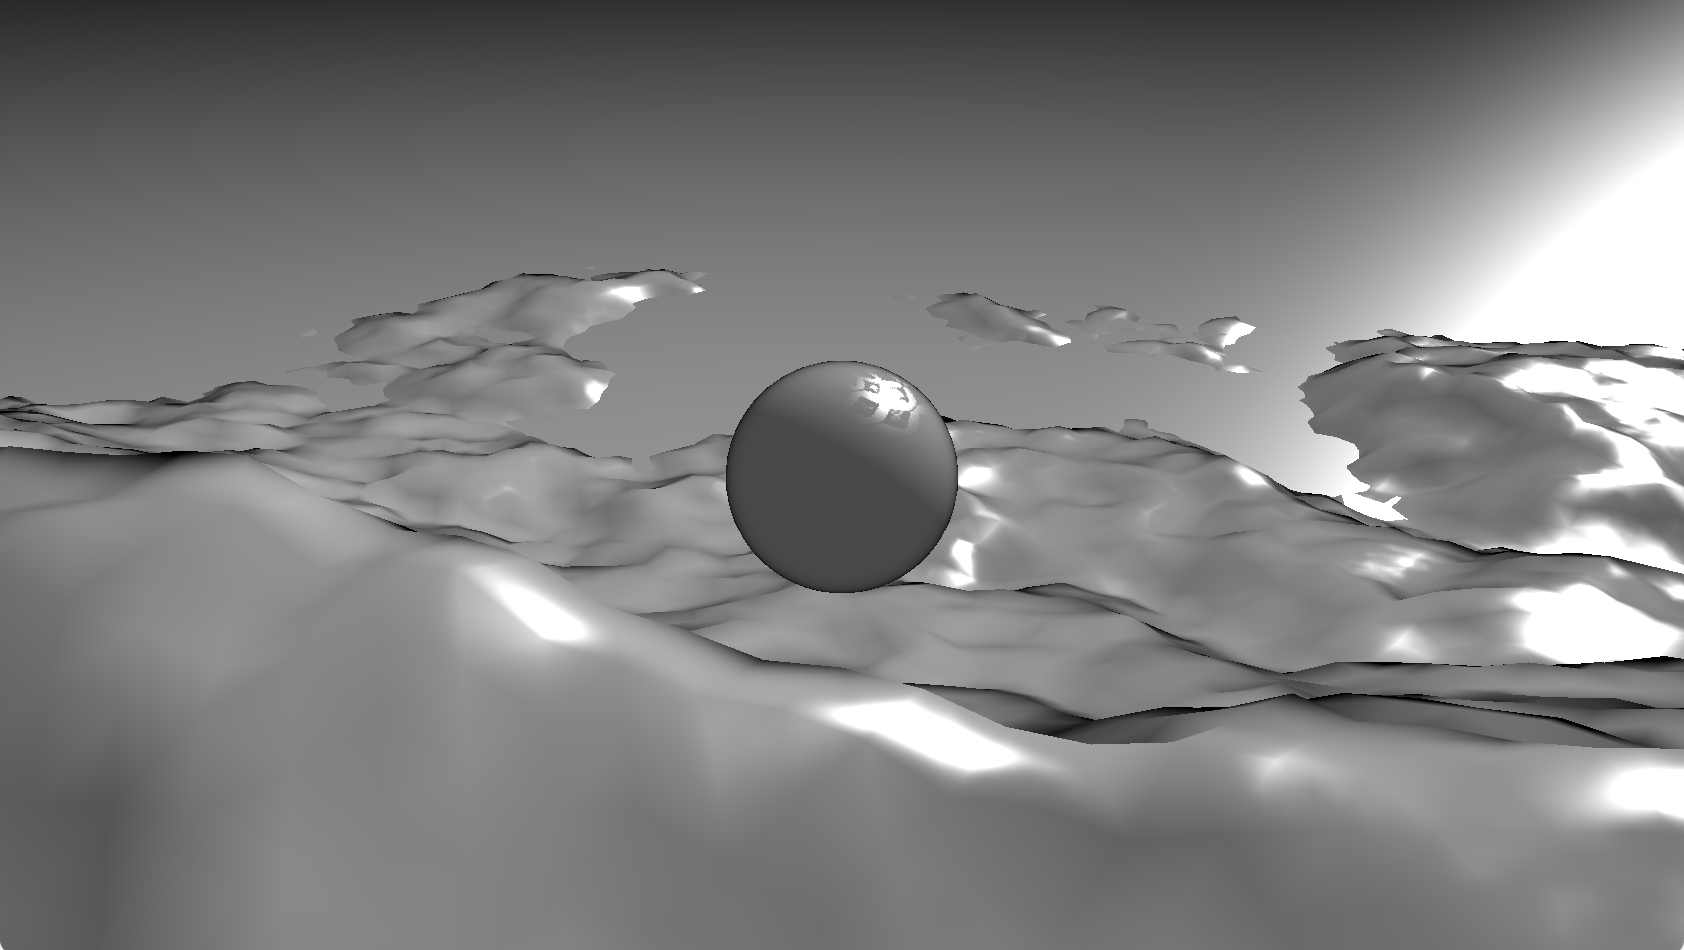
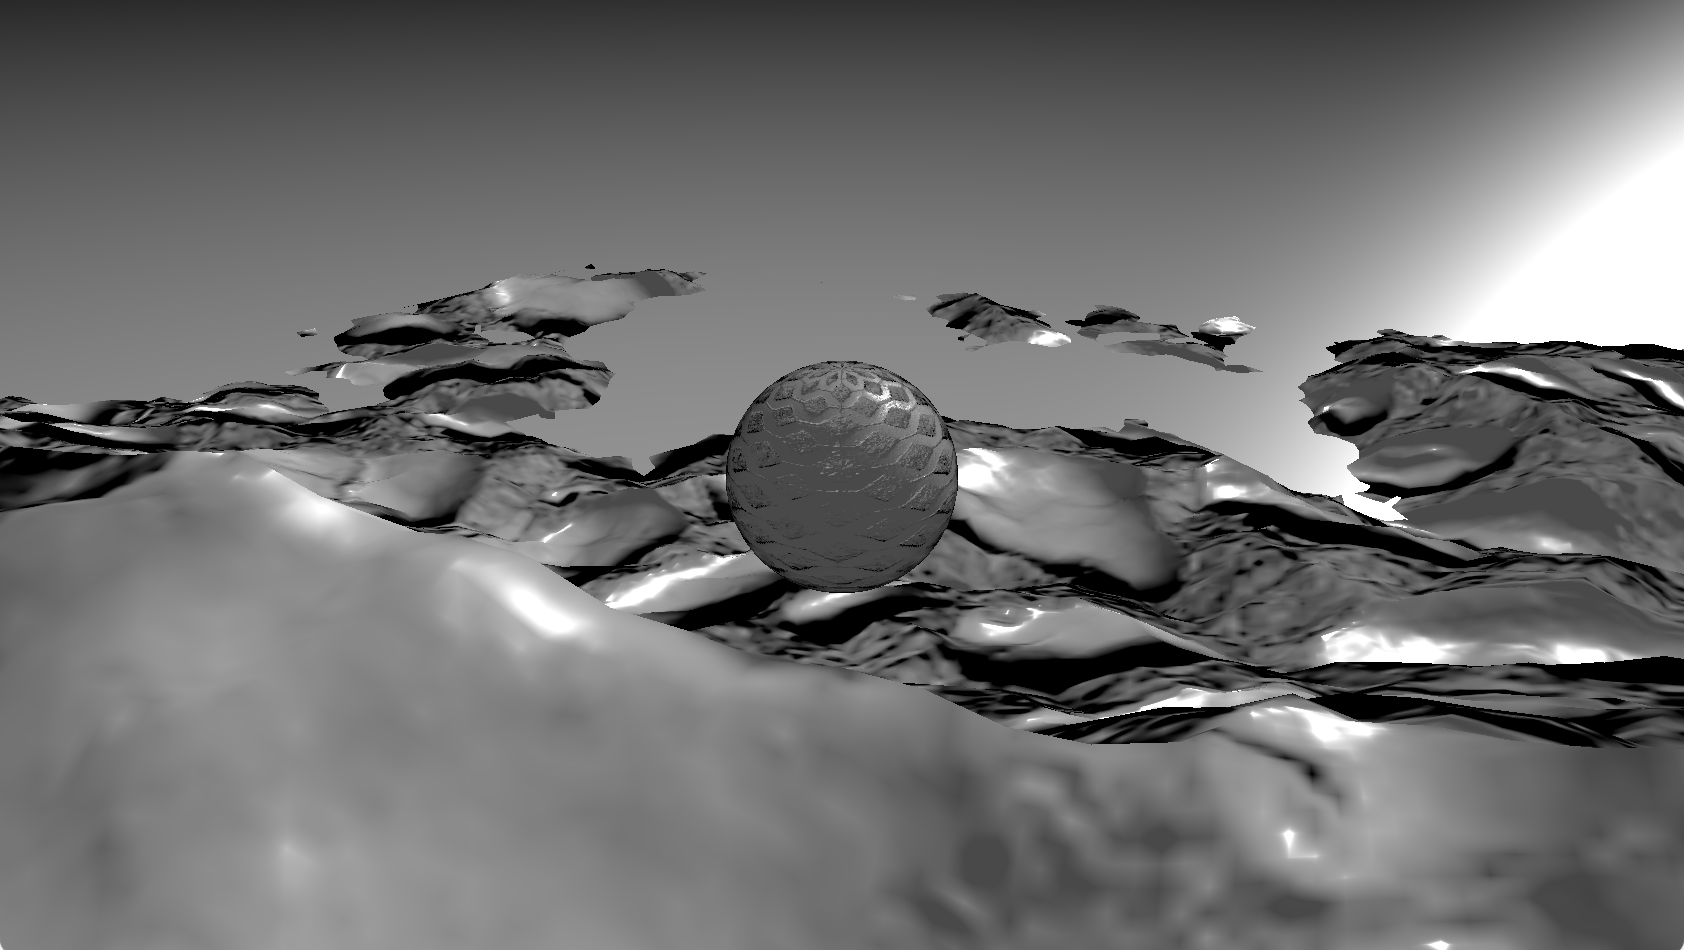
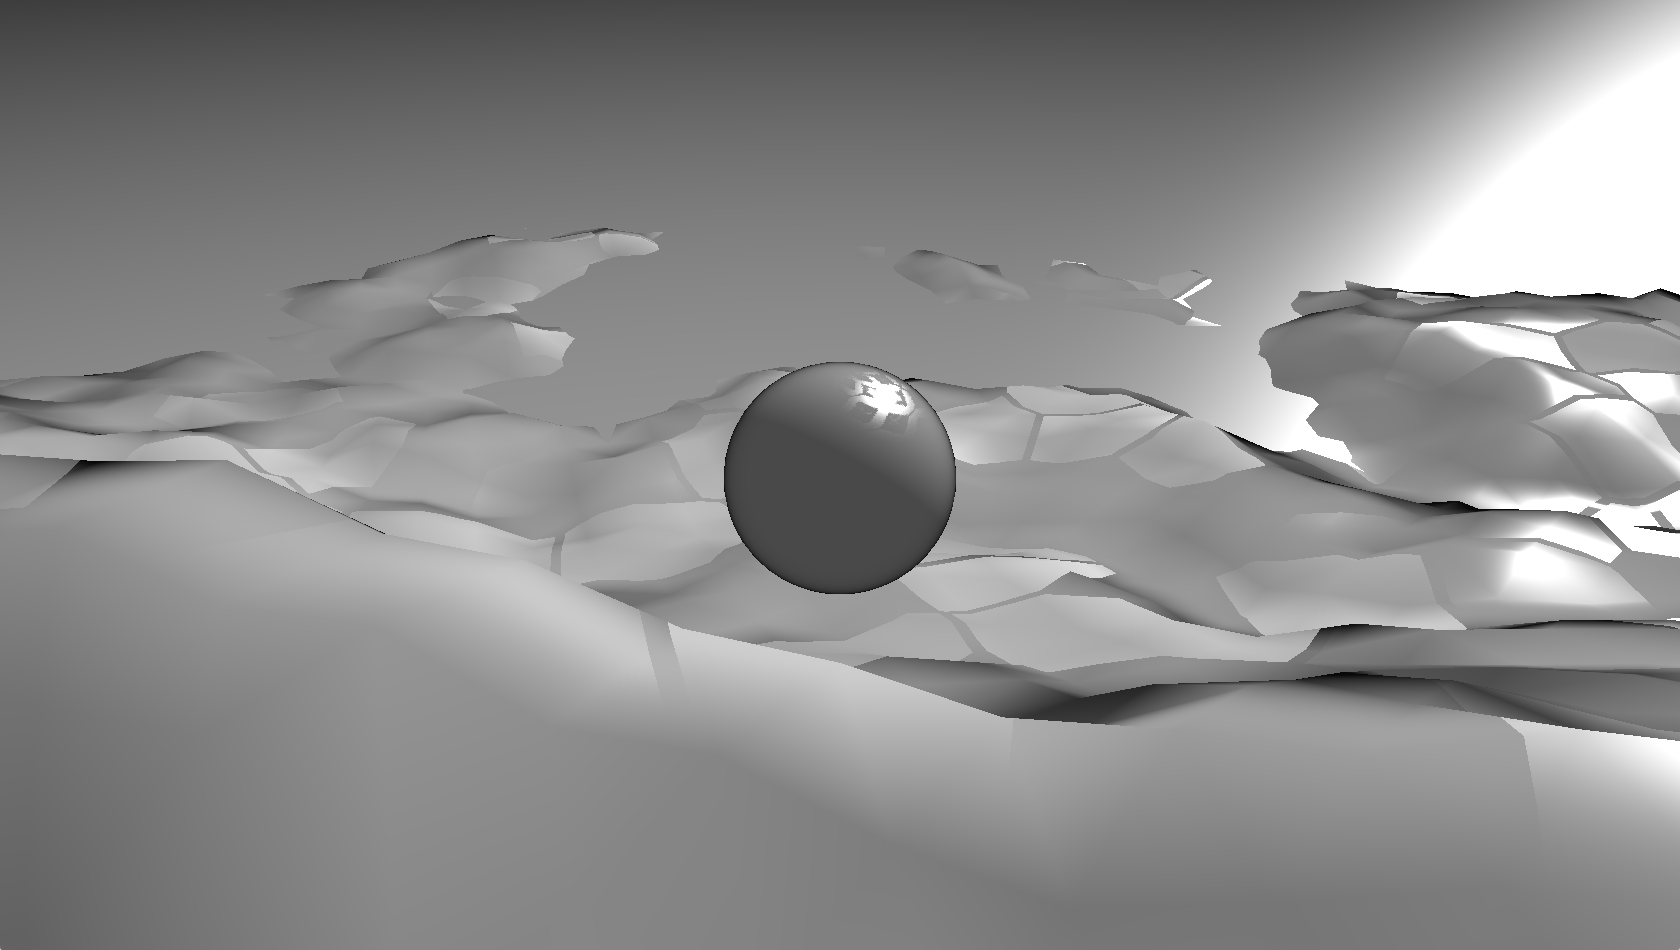
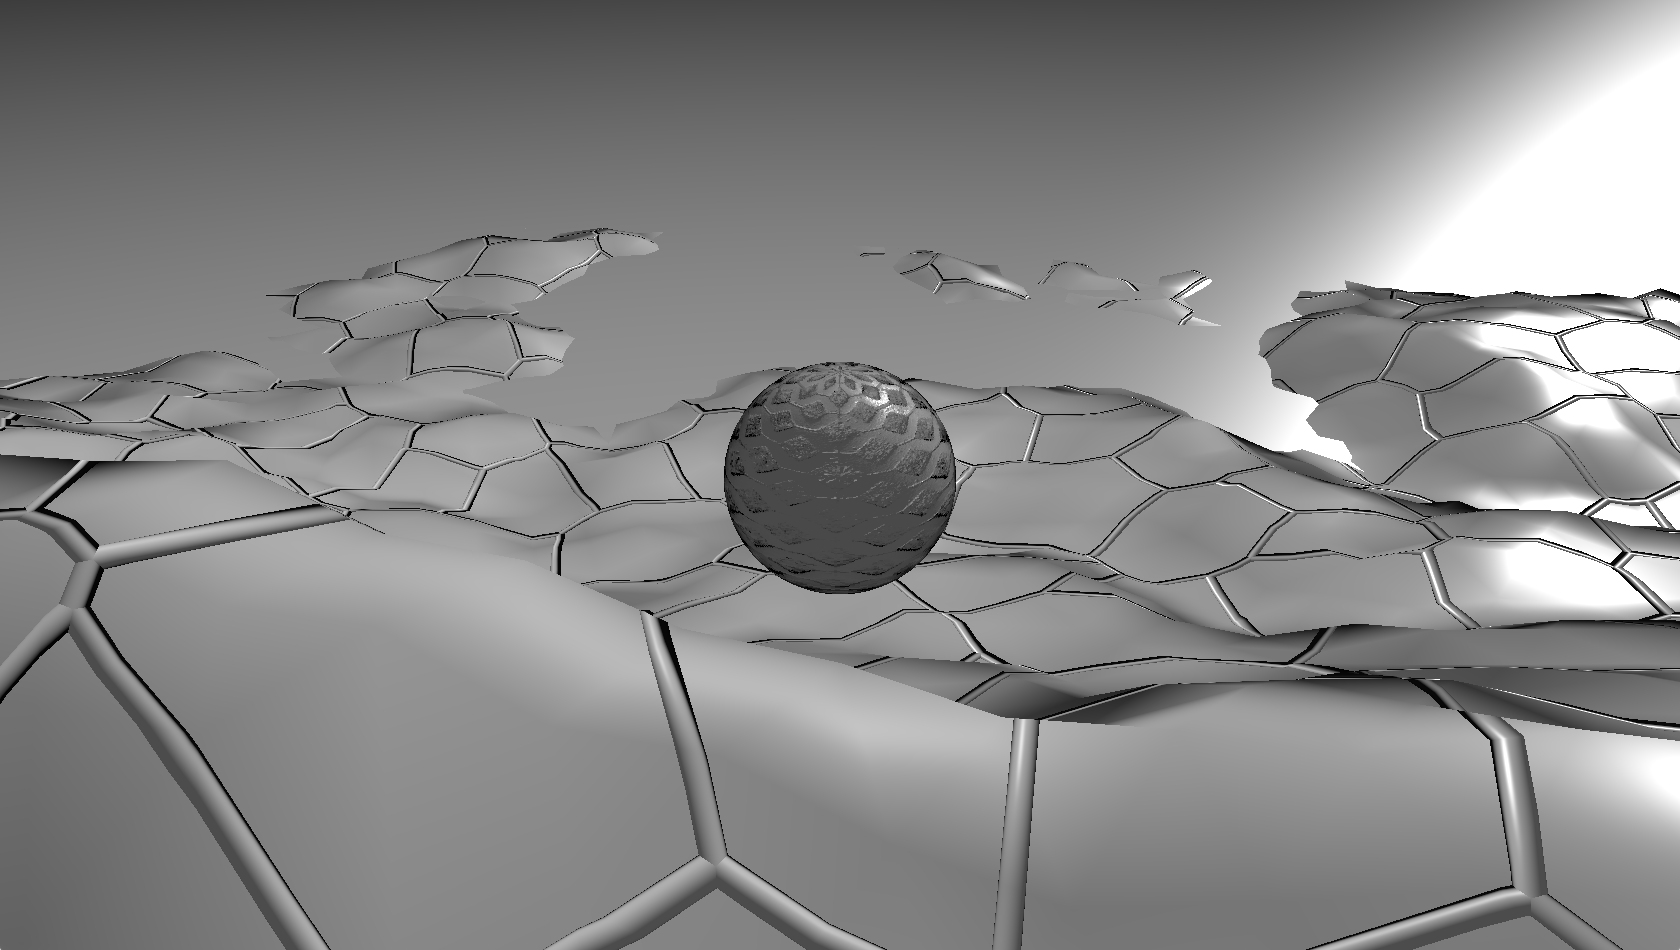
For this assignment, you will be using the auxilliary textures provided in the data directory to add an ambient occlusion map, gloss map, and normal map to each object. This will require changes in both C++ and shader code. To help isolate the individual effects, pressing the '1' key should toggle between the color texture and a uniform grey surface, pressing the '2' key should toggle the normal map on and off, pressing the '3' key should toggle the gloss map on and off, and pressing the '4' key should toggle the ambient occlusion on and off. Start with all of the effects enabled.
 |
 |
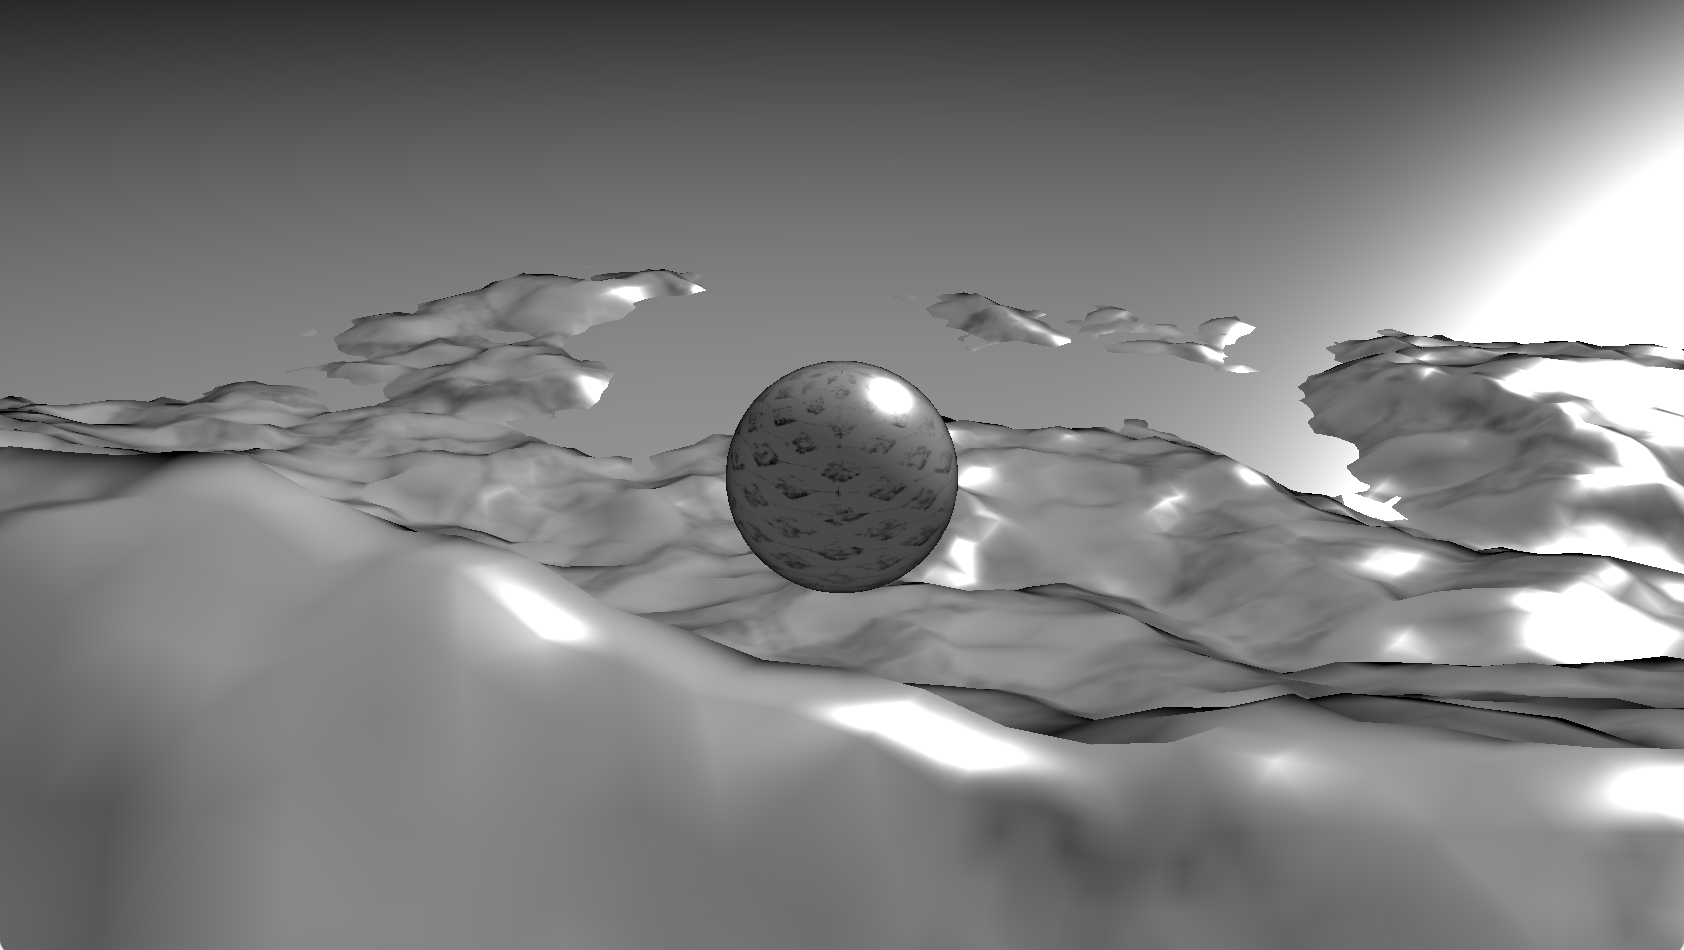 |
| No effects | Color only | AO map |
 |
 |
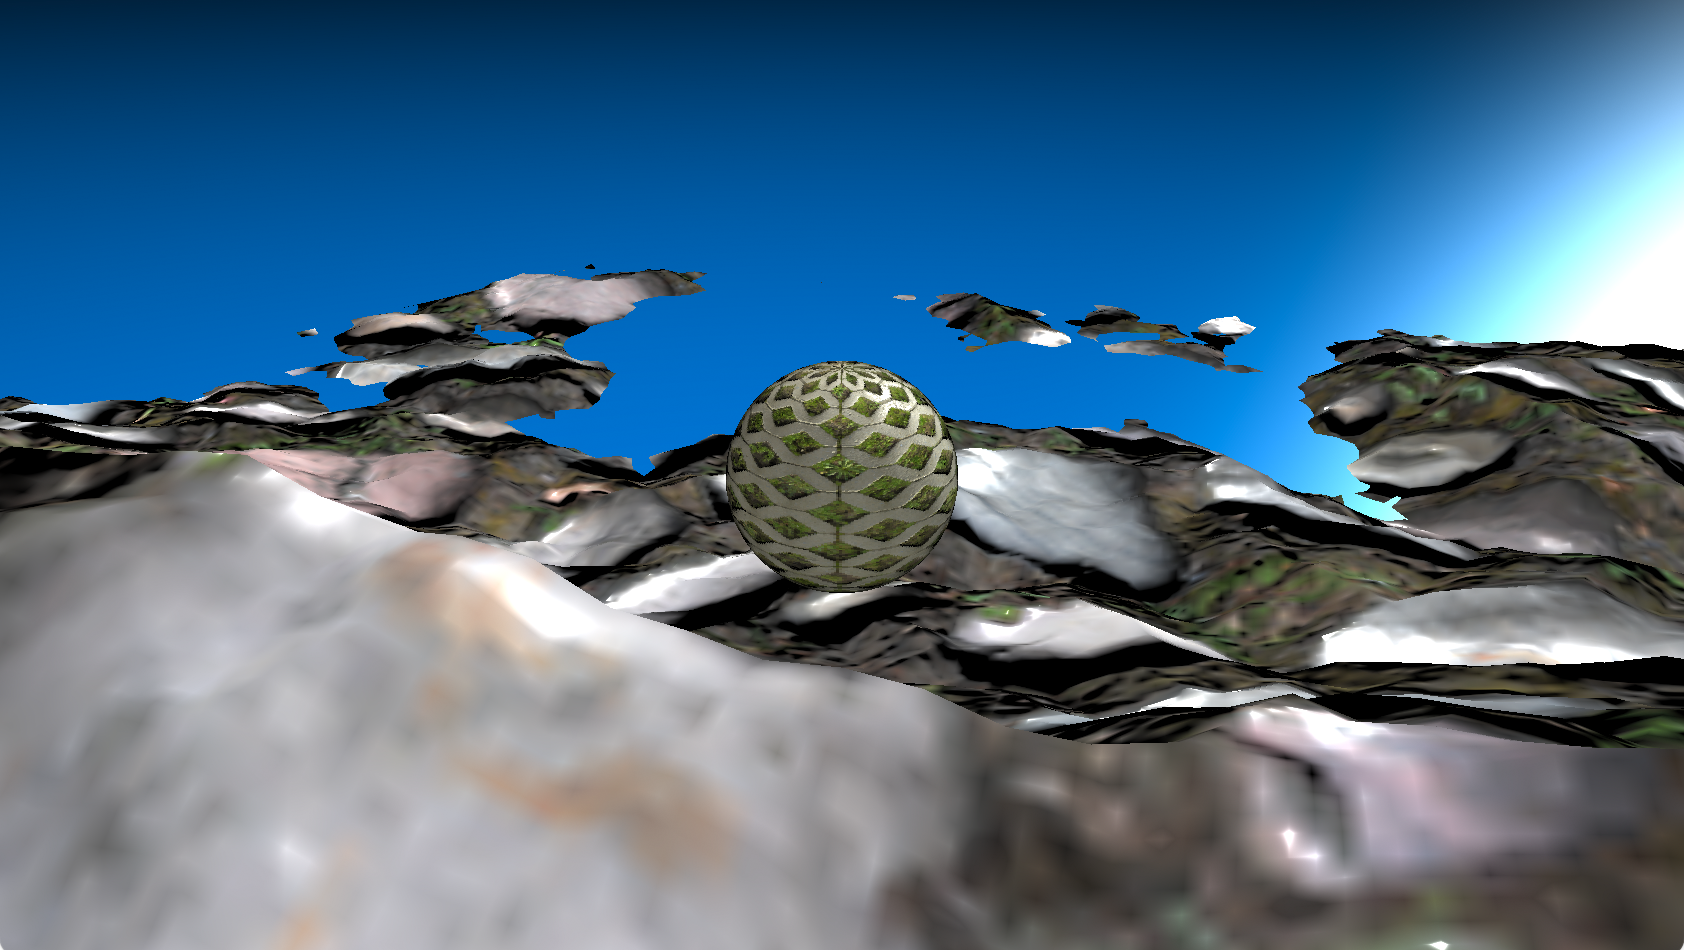 |
| Gloss map | Normal map | All effects |
Plumbing
You will need to make changes to the C++ code to load the additional textures and get them into the shader. Try displaying each in place of the ColorTexture to ensure it is loaded correctly. You'll also need to make C++ changes to get the flags to turn each feature on and off to the shader, and to enable the key controls to change them.
Ambient Occlusion
Ambient occlusion (AO) modifies the ambient term based on the local surface or normal map shape, so corners will receive less ambient than flat regions. The AO term is in the blue channel of the property map. When AO is enabled, scale the overall ambient intensity (passed in LightDir.a) by the AO value. In the initial GLapp sample code, the ambient intensity is changed with the 'I' key. To make sure you can see the AO effect, change the default ambient intensity to 0.4.
Gloss Map
A gloss map changes the shininess across the surface. You will need to implement normalized Blinn-Phong specular reflection (aka scaled proportional to the specular power) modulated by the Fresnel reflectance using the Schlick approximation with F0=0.04.
For the specular exponent, use 212*gloss (so a gloss value of 0 in the map is a specular exponent of 1, and a gloss value of 1 in the map is a speculare exponent of 4096). When the gloss map is disabled, use a constant specular exponent of 64.
Fresnel = 0.04 + 0.96 * (1 - N•V)5
SpecPower = 212*gloss
Specular = N•HSpecPower * (SpecPower+1)/2
Color = mix(Ambient + Diffuse, Specular, Fresnel)
Normal Map
The normal map changes the per-pixel normal used for shading to correspond to a higher detail surface than the underlying polygonal model. The components of the new normal are packed into a 0-1 texture as nmap = 0.5*Ntang + 0.5, and can unpacked as Ntang = 2*nmap - 1. It is defined in a tangent space. In tangent space, the X axis, commonly called the tangent vector (T), is tangent to the surface in a direction aligned with changes with the u texture coordinate (∂P/∂u). The tangent-space Y axis, commonly called the bitangent vector (B), is tangent to the surface in a direction aligned with the v texture coordinate (∂P/∂v). The tangent-space Z axis, just called the normal vector (N), is just the original surface normal. This means an un-bumped normal is (0,0,1) in tangent space. To convert a tangent space normal from the normal map to a world space normal to use for shading, you transform it through a TBN matrix whose columns are the normalized tangent, bitangent, and normal. In shader code, the mat3 constructor builds matrices by column, so TBN=mat3(T,B,N), giving Nworld = TBN * Ntang.
The N vector is already provided per-vertex by the existing object code. You will need to add C++ code to compute per-vertex T and B vectors and pass them as additional vertex data to the vertex shader. In the vertex shader, remember that vectors like T and B transform on the right by the top-left 3x3 portion of the WorldFromModel, while the N vector is transformed on the left by the top-left 3x3 portion of inverse(WorldFromModel).
For the plane and sphere, you can directly compute the derivatives of position to find expressions for the T and B vector. For the island, the position relies on random values, which makes direct computation by derivative more difficult. Knowing U and V are aligned with the and Y axes, and as tangent vectors, T and B need to be perpendicular to N, you can instead orthogonalize (1,0,0) and (0,1,0) against the computed per-vertex normal.
634 only
Find a texture on the cc0textures web site that looks reasonable on the ocean (there are no ocean textures there, so you may need to decide it is actually an large flat area of grass, dirt, or rocks, with a mountain poking up). You will need to pack the auxilliary maps into a property map yourself. Implement a specular antialiasing technique. For this, you should explicitly generate the MIP levels for the normal and gloss map (instead of using glGenerateMipmap, baking the variance in the normals into gloss at each level.
Extra Credit
(435 & 634)
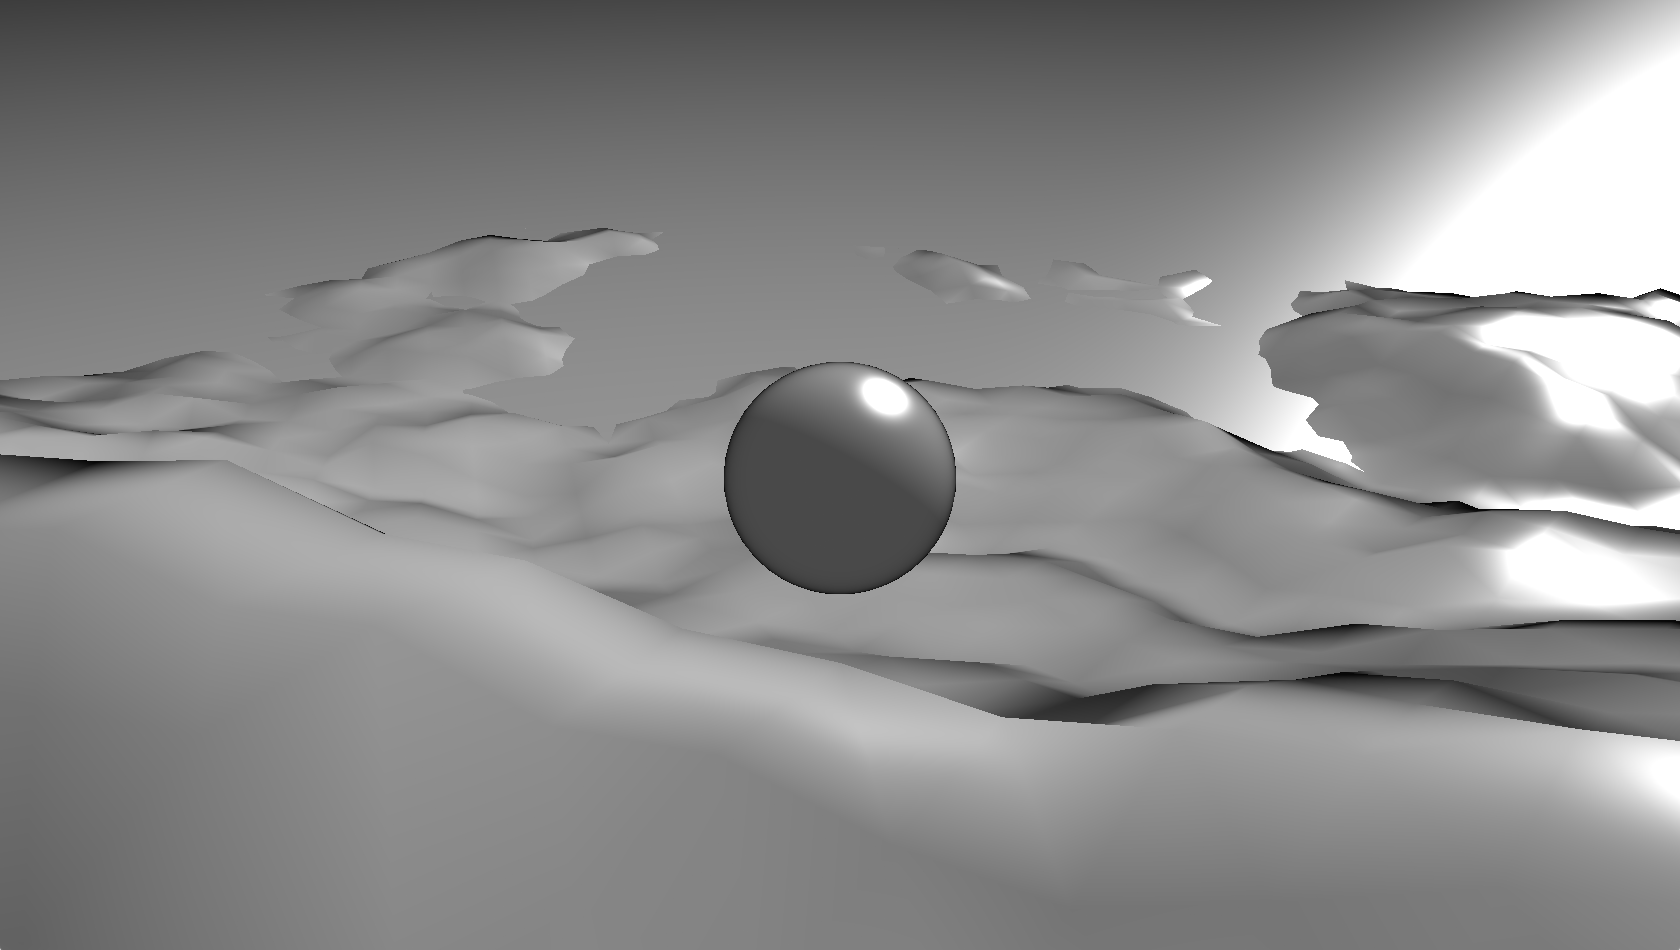
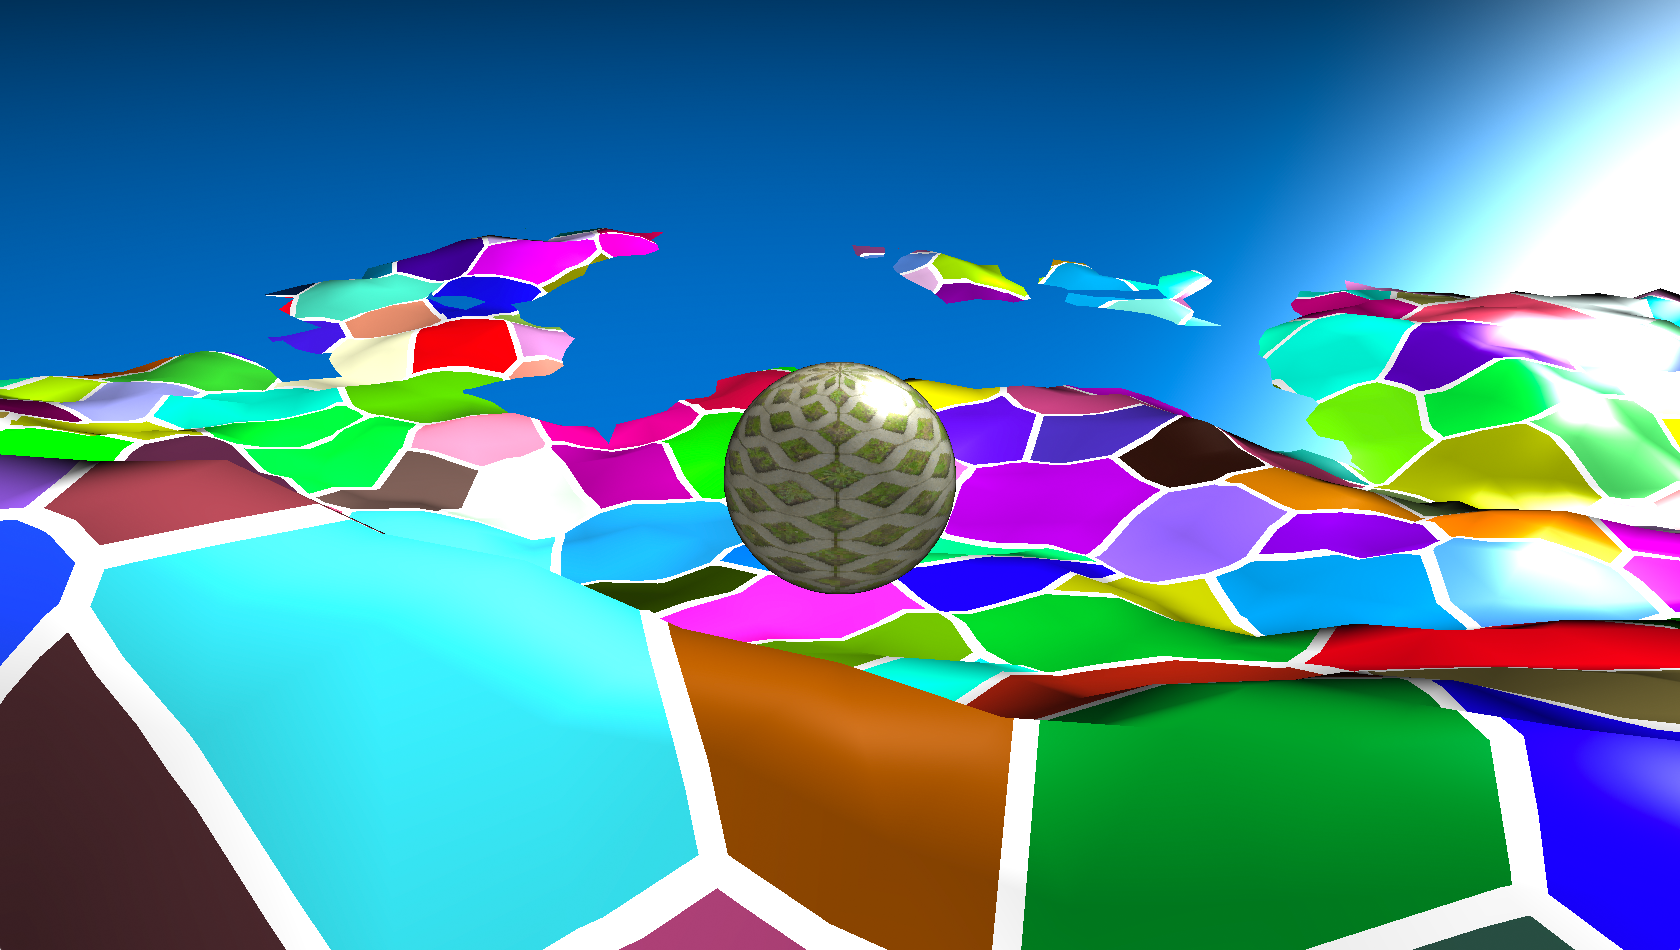
For up to 20 points of extra credit, replace one of the textures with a totally procedural texture. The look is inspired by this shadertoy. Note that there are some significant differences between the shadertoy and ours, so even if it were allowed, you would not be able to just use that code, but you are allowed to refer to the code there as a reference. Implement this in a separate fragment shader from the other objects.
Divide texture space into uniform cells and bomb a random seed point into each one using a hash chosen from the Common tab of this shadertoy (you can copy this code). Create colored tiles, where color and gloss both come from a hash of the closest seed.
 |
 |
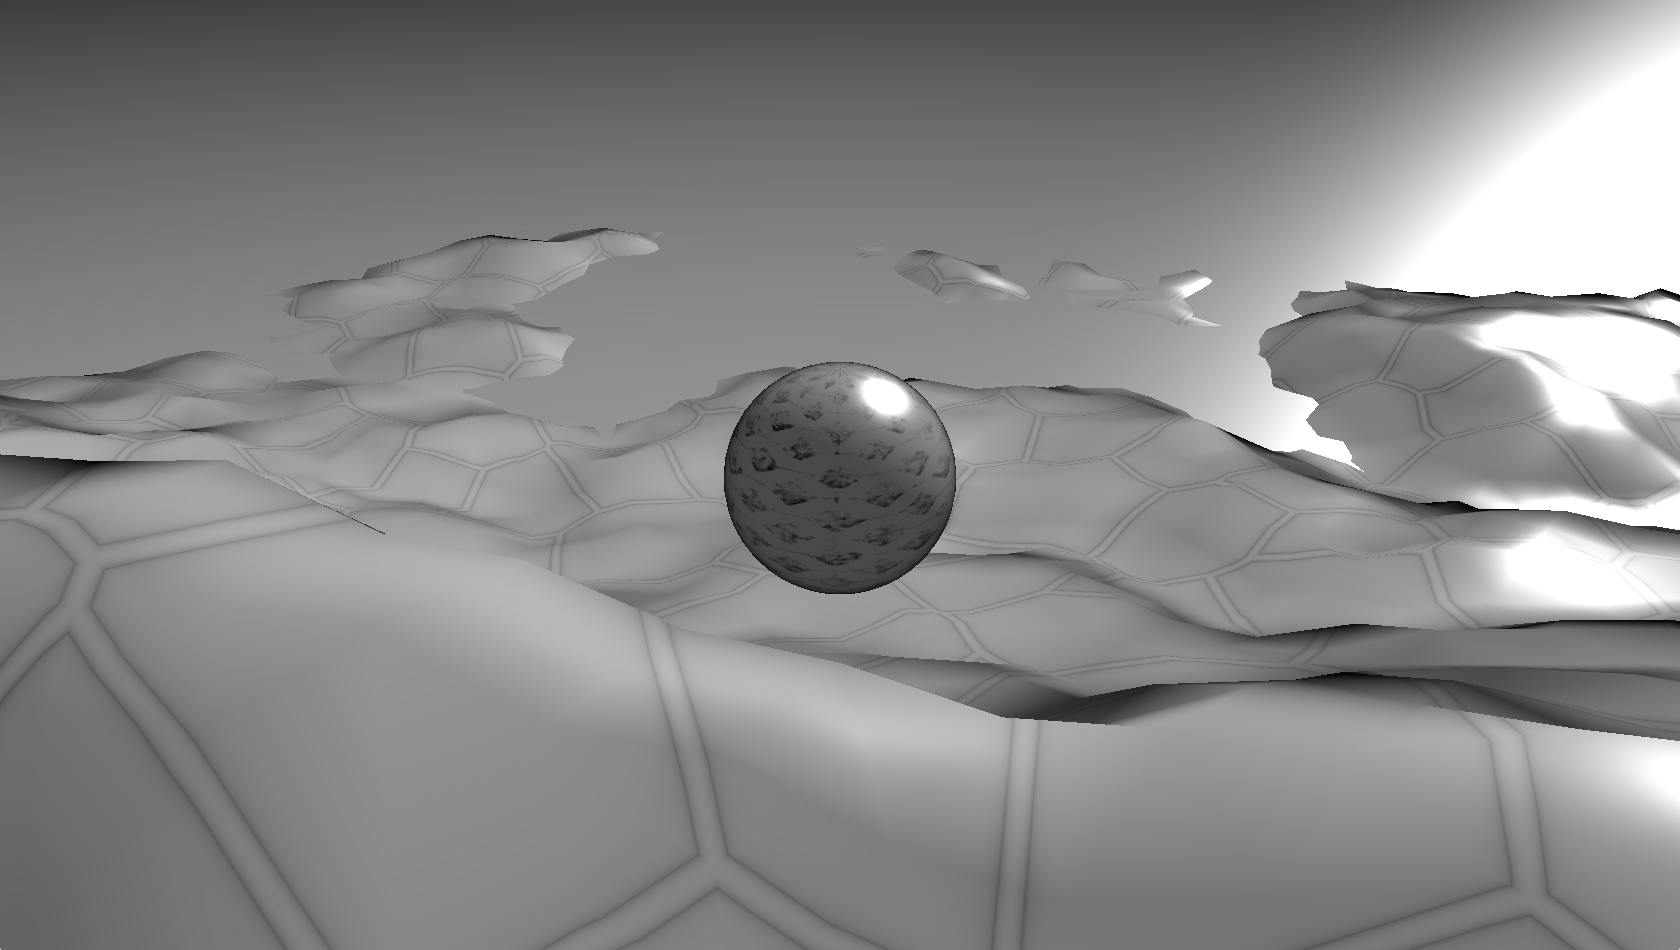 |
| No effects | Color only | AO map |
 |
 |
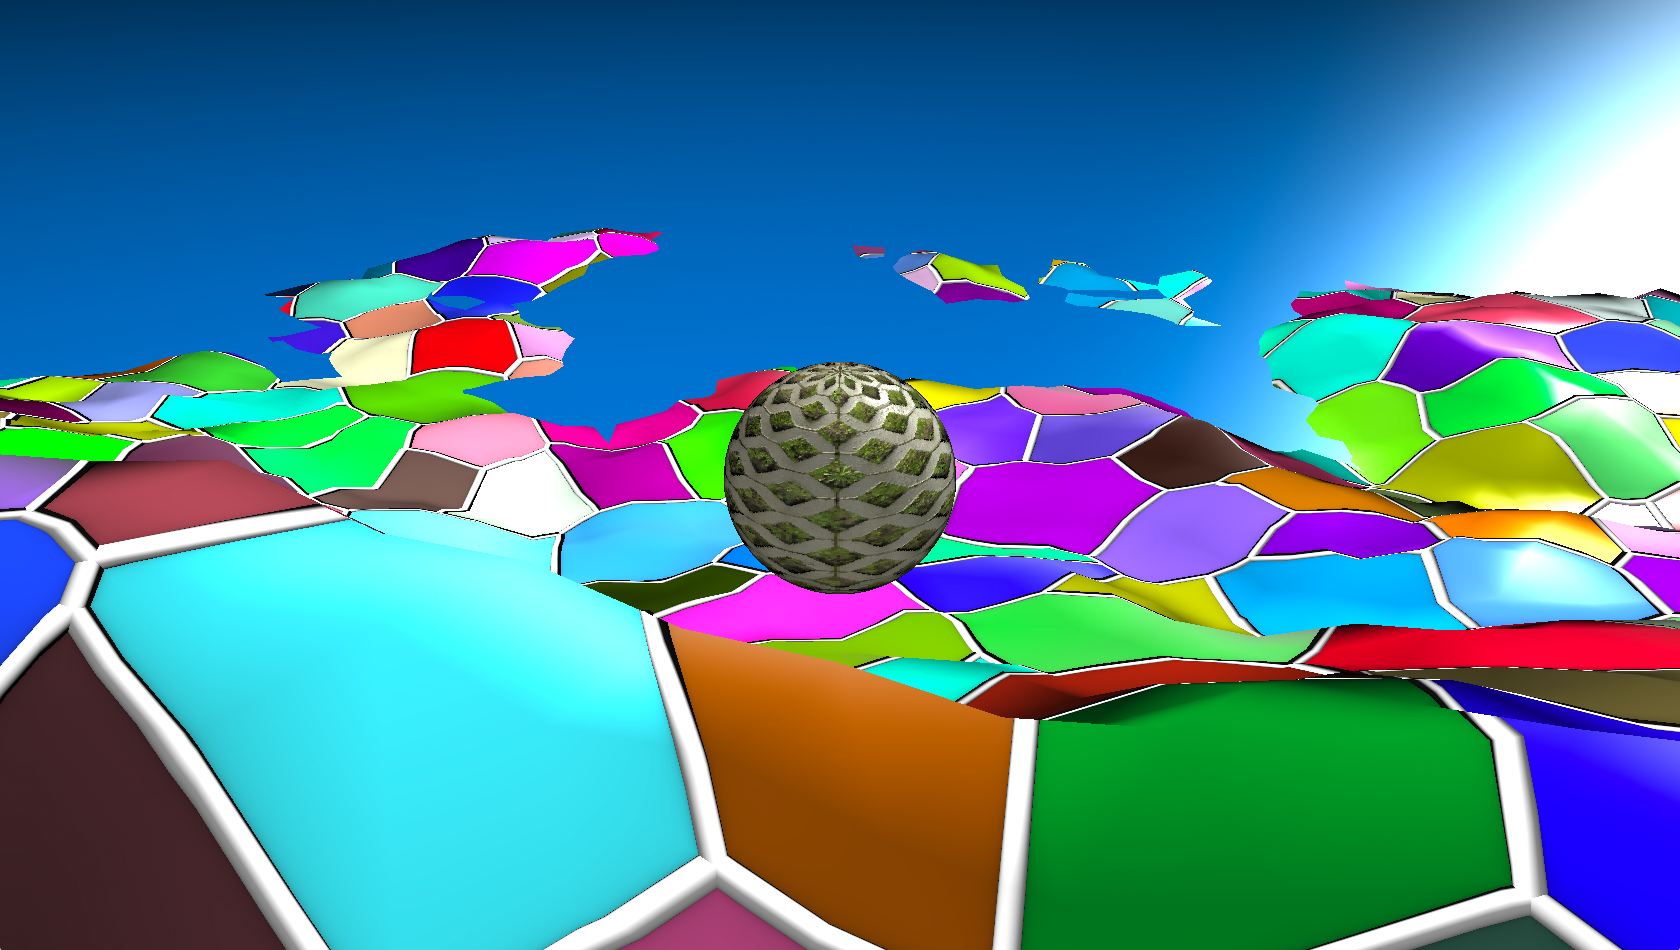 |
| Gloss map | Normal map | All effects |
What to turn in
Turn in this assignment electronically by pushing your source code to your class git repository by 11:59 PM on the day of the deadline and tagging the commit assn5. Do your development in the GLapp directory so we can find it.
Also include an assn5.txt file at the top level of your repository telling us about your assignment. Tell us what works, and what does not. Also tell us what (if any) help you received from books, web sites, or people other than the instructor and TA. Finally, if you did anything toward the extra credit, be sure to tell us about it in this file.
You must make multiple commits along the way with useful checkin messages. We will be looking at your development process, so a complete and perfectly working assignment submitted in a single checkin one minute before the deadline will NOT get full credit. Individual checkins of complete files one at a time will not count as incremental commits. Do be sure to check in all of your source code, but no build files, log files, generated images, zip files, libraries, or other non-code content.